
Last Updated on May 14, 2023 by Ellen Christian
If you’re looking for a scrunchie sewing tutorial, keep reading and learn how to make a scrunchie. This scrunchie tutorial can be sewn by machine sewing or using a hand sewing needle.
Posts may be sponsored. This post contains affiliate links, which means I will make a commission at no extra cost to you should you click through and make a purchase. As an Amazon Associate I earn from qualifying purchases.
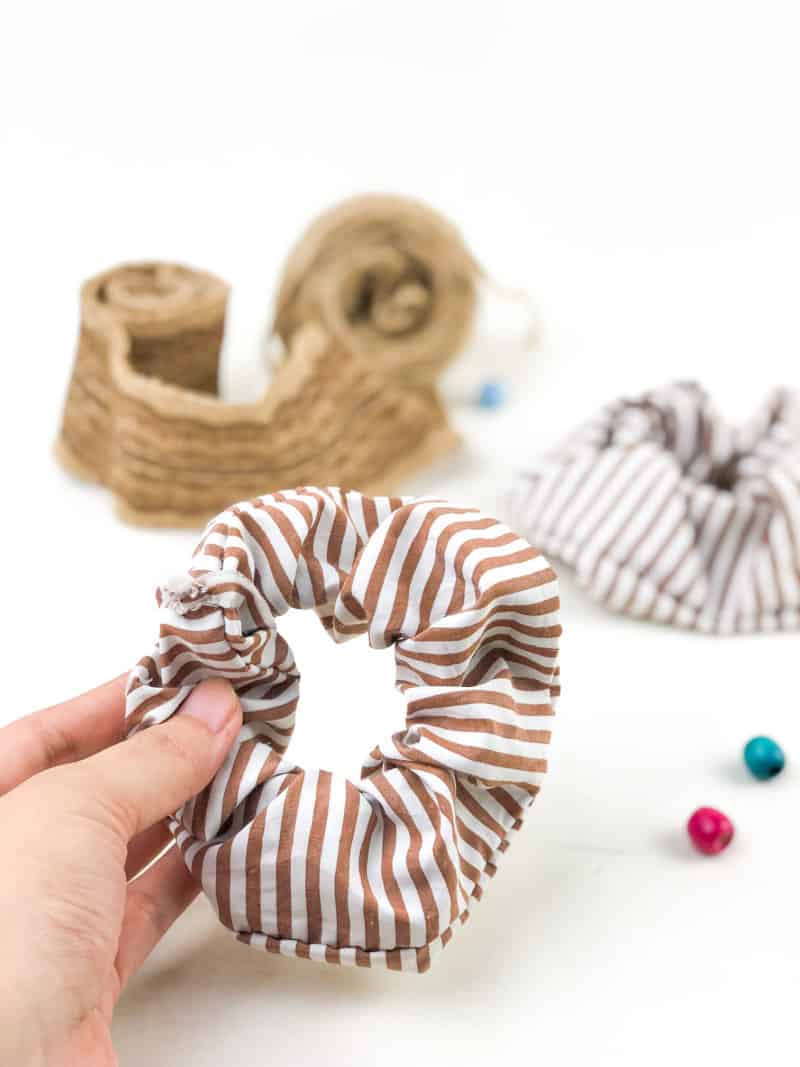
Table of Contents
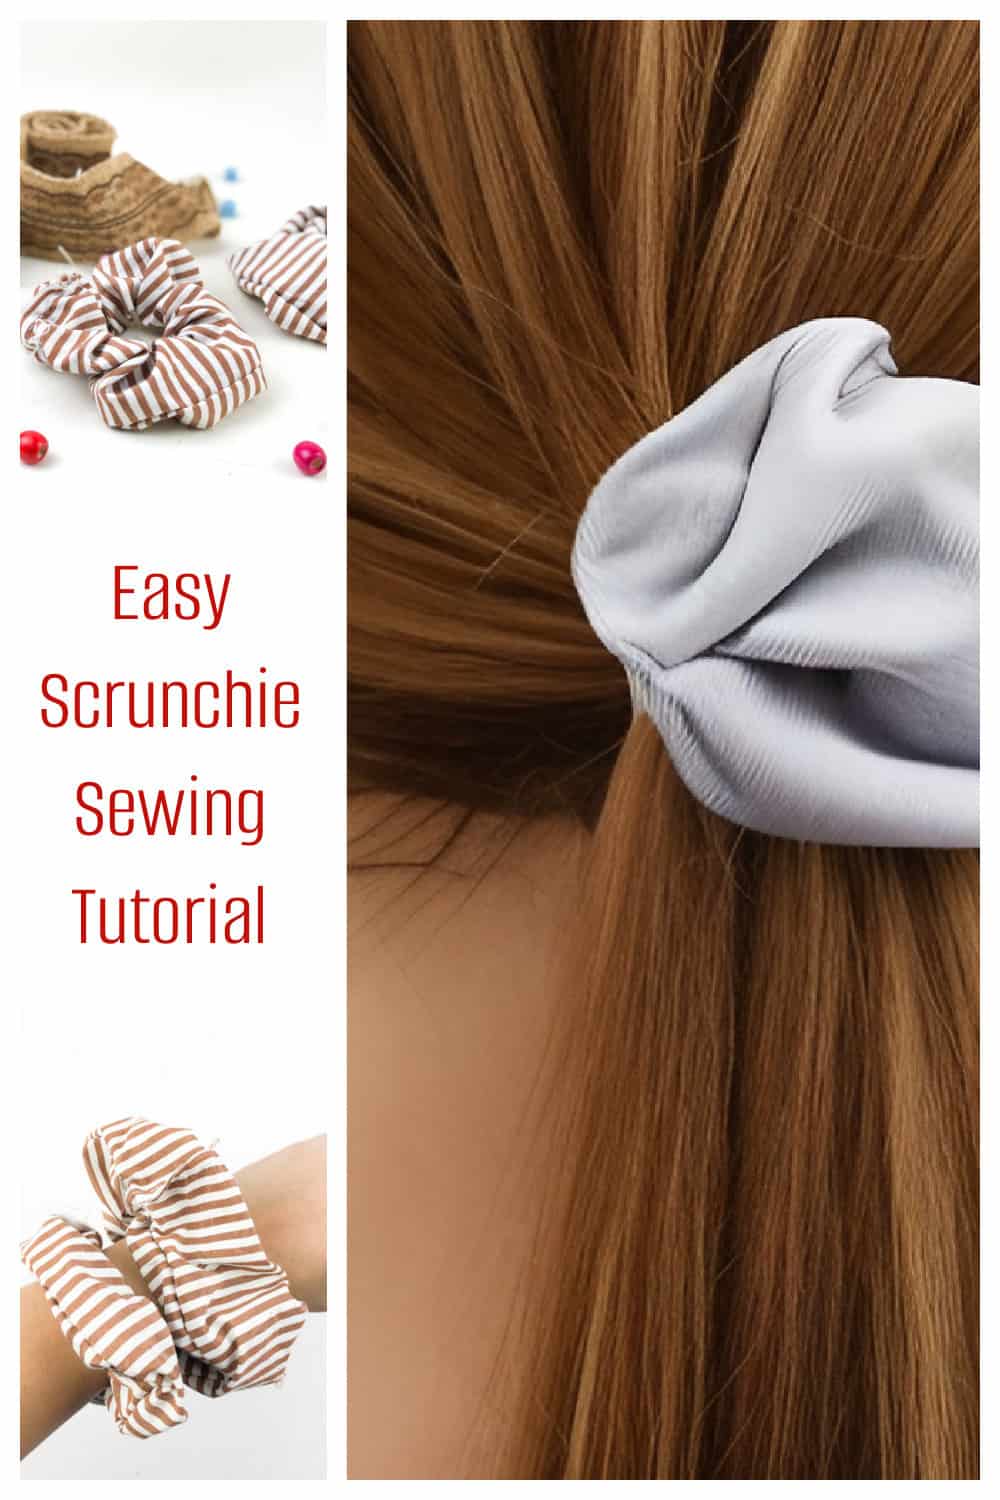
Scrunchie Sewing Tutorial
Learn how to make a scrunchie with this simple sewing project. All you need are a few basic sewing supplies to make your own hair scrunchie.
Hair accessories can be fairly expensive at the store especially if you want to have lots of different colors and patterns to match your favorite outfit.
Making scrunchies is very simple. You can hand sew them in just a few minutes. And, you need only basic sewing skills.
You can easily make a scrunchie with fabric scraps. Don’t stop at just one scrunchie. Soon you’ll have dozens!
Do I need a sewing machine?
No, you can sew this with a hand sewing needle. But, it will be faster if you have a sewing machine to use. This sewing machine is portable and very affordable if you plan on making more of these.

This product presentation was made with AAWP plugin.
For new sew scrunchies, you can do the same thing with a hot glue gun. Machine stitching looks neater but you can make a professional looking scrunchie with out one.
How do you make a seamless scrunchie?
To make a seamless scrunchie, you need to attach the ends together. You can do this by hand with a needle and thread or with a sewing machine.
First, cut two long strips of fabric that are the same length. If you want your scrunchie to be thicker, then cut two wider strips instead.
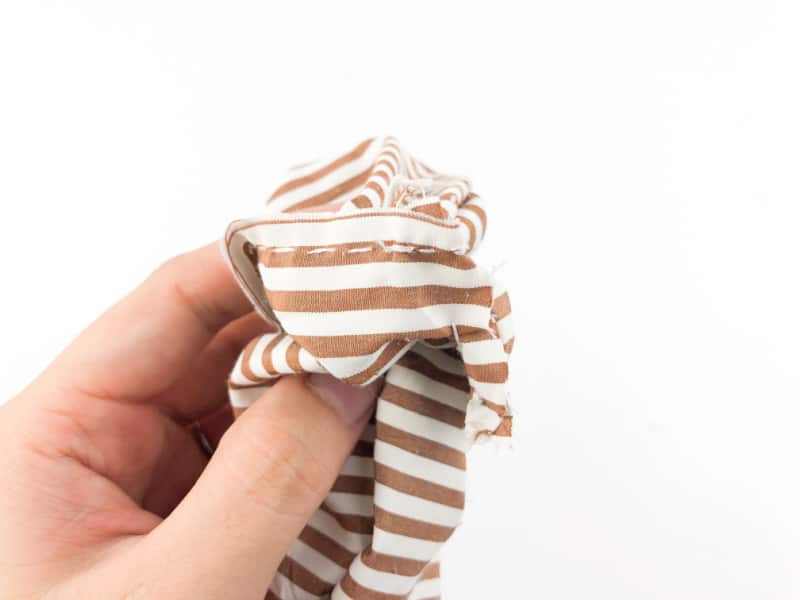
Next, sew the two strips together with a seam that leaves a small gap in the middle. Make sure to backstitch at the beginning and end of your stitches.
Next, turn the fabric inside out so that the seam is on the inside. Then carefully stitch around the outside edge of your scrunchie, making sure to keep the tension even.
Finally, tie the two ends of your scrunchie together with a knot. Cut off any excess thread and you are done!
Your homemade scrunchie is now ready to wear! You can make it in any color or pattern that you want to match your outfit. Now you don’t have to buy expensive hair accessories anymore.
How do you sew a scrunchie on a sewing machine?
Sewing a scrunchie on a sewing machine is very similar to the hand-sewn scrunchie in steps outlined above.
First, cut two long strips of fabric that are the same length. If you want your scrunchie to be thicker, then cut two wider strips instead.
Next, place the wrong sides of the fabric together, lay it flat, and then sew a seam down the length of it. Make sure to backstitch at the beginning and end of your stitches.
Turn the fabric inside out so that the seam is on the inside. Then carefully stitch around the outside edge of your scrunchie, making sure to keep the tension even.
Finally, tie the two ends of your scrunchie together with a knot. Cut off any excess thread and you are done! Now you have a lovely homemade scrunchie to wear!
With this simple sewing tutorial, anyone can make their own scrunchies in no time. So get creative and start making some fun hair accessories!


This product presentation was made with AAWP plugin.
What fabric to use for a scrunchie?
You can use any kind of fabric for your scrunchie. You can use cotton, silk, rayon, lightweight wool, and other fabrics like chiffon or satin. Just make sure to pre-wash the fabric before you begin sewing so that it won’t shrink in the future.
It is a little bit more difficult to make a scrunchie if you use slippery fabrics like crushed velvet or silk. But, it is possible with a bit of practice. I like to use cotton fabric.
I like to wander through the store to find the perfect fabric and matching thread. But, you can make your own scrunchies with scraps if you want to.
Dimensions for DIY scrunchie
There are no set dimensions to sew scrunchies. It depends on if you have thick hair or thin and how much hair you have.
These are the basic dimensions I use for DIY scrunchie sizes:
Small 3 – 3.5 inches (7.5 – 9 cm)
Regular 3.75 – 4.25 inches (9.5 – 11 cm)
Large 4.75 – 5.5 inches (12 – 14 cm)
Oversized scrunchie 6 – 7 inches (15.5 – 17.5 cm)
Keep reading for the sewing instructions. Using a sewing machine is optional. You can make a DIY scrunchie with a hand stitch needle.
Or, make a no sew scrunchie by using a hot glue gun. There is no scrunchie sewing pattern needed to make a scrunchie. Just use these dimensions.
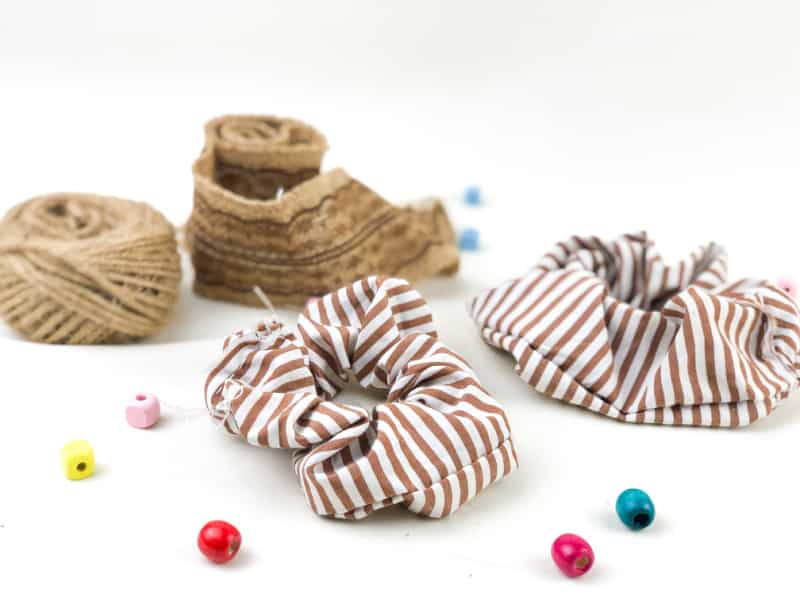
DIY scrunchie materials
You need these materials to make a scrunchie.
- Fabric
- Elastic
- Hand sewing needle
- Matching thread
- Scissors
- Safety pin
- Fabric glue (optional)
- Sewing machine (optional)
- Cutting mat and rotary cutter (optional)
Best elastic to make a scrunchie
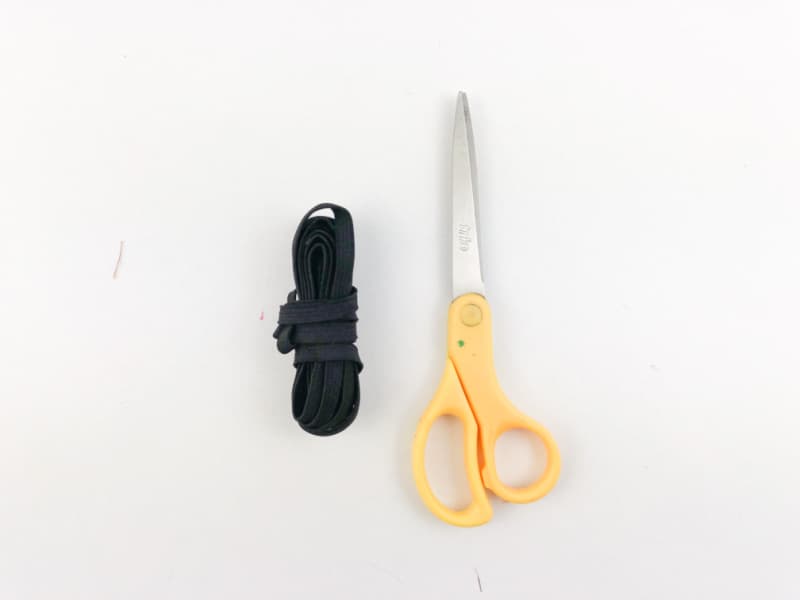
The best elastic for scrunchies should have a soft texture and be stretchy. You can find this kind of elastic at any fabric store or craft store.
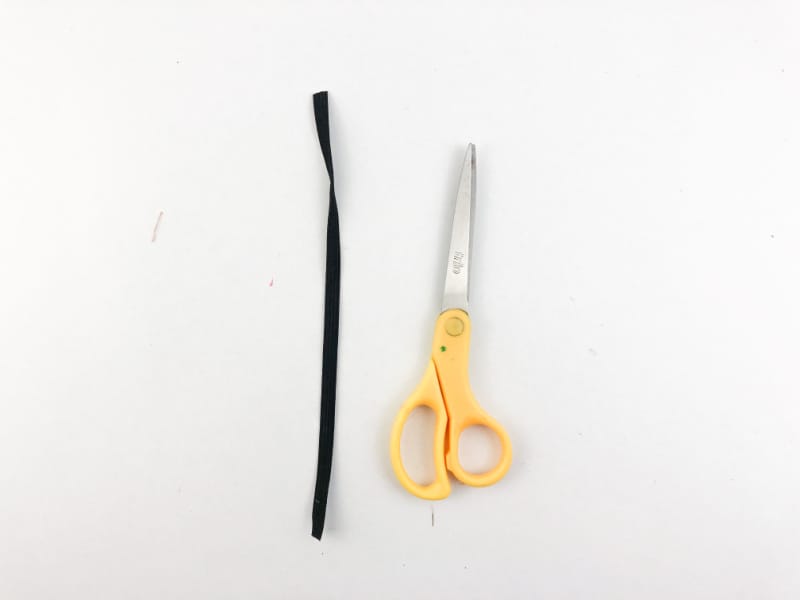
Elastic with a diameter of 1/4 inch to 3/8 inch (6 mm to 10 mm) usually works best for making scrunchies.
You won’t believe how easy sewing scrunchies is. It’s one of the simplest sewing projects you can start with.
Check out the video for a scrunchie tutorial that’s step by step.
How to make a scrunchie
Follow these simple steps to make a DIY hair scrunchie. If you have a sewing machine, you can use it to make the stitches, but it’s not necessary. A hand stitch works well to make a DIY scrunchie.
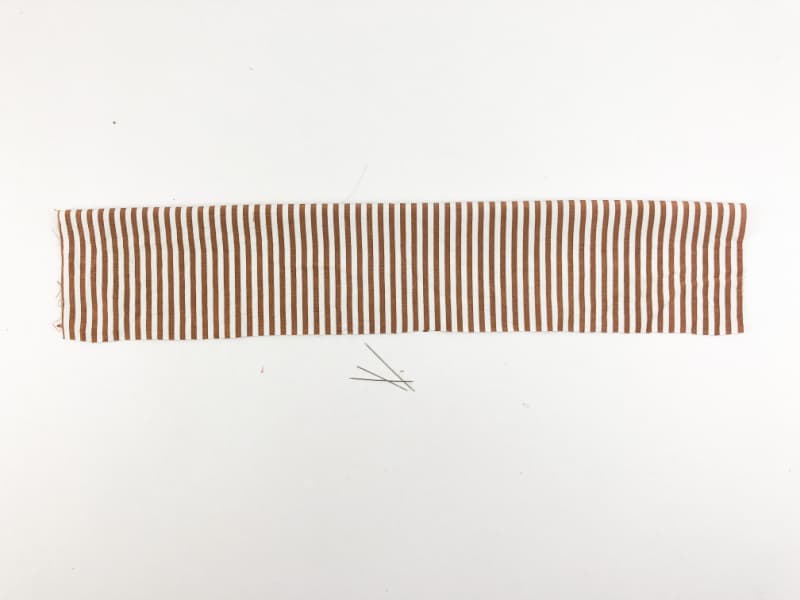
- Cut the fabric and elastic to your desired length.
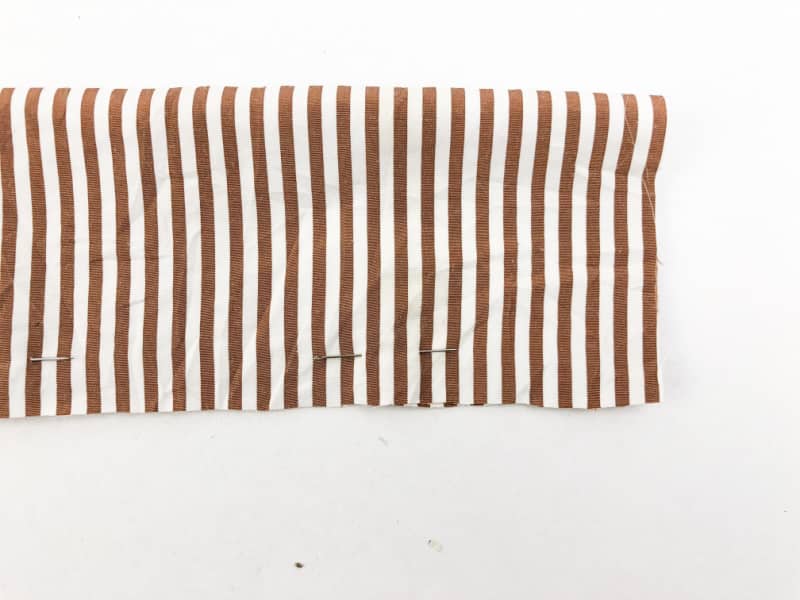
- Fold the scrunchie fabric in half lengthwise with the long edge together.
- You can make use of pins to secure the layers.
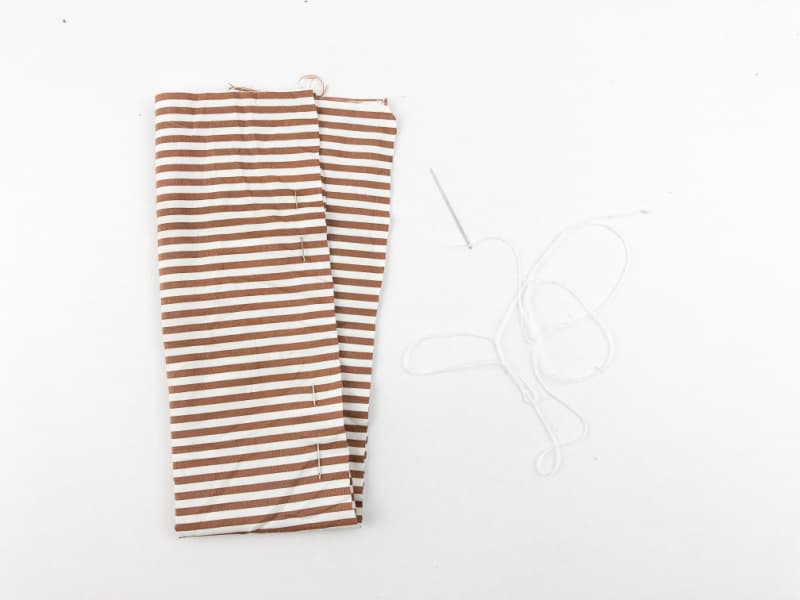
- Sew the fabric tube together using a running stitch, invisible ladder stitch, or straight stitch.
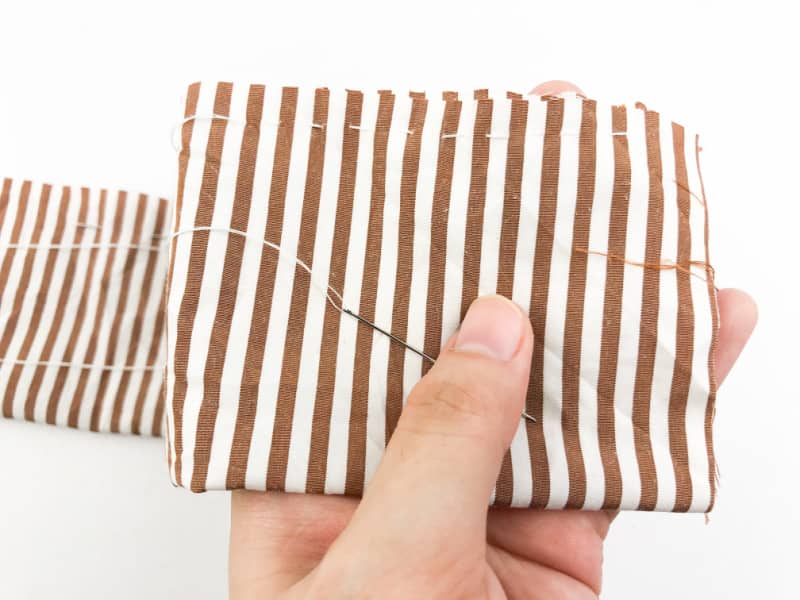
- You can use fabric glue on the raw edges if you want to.
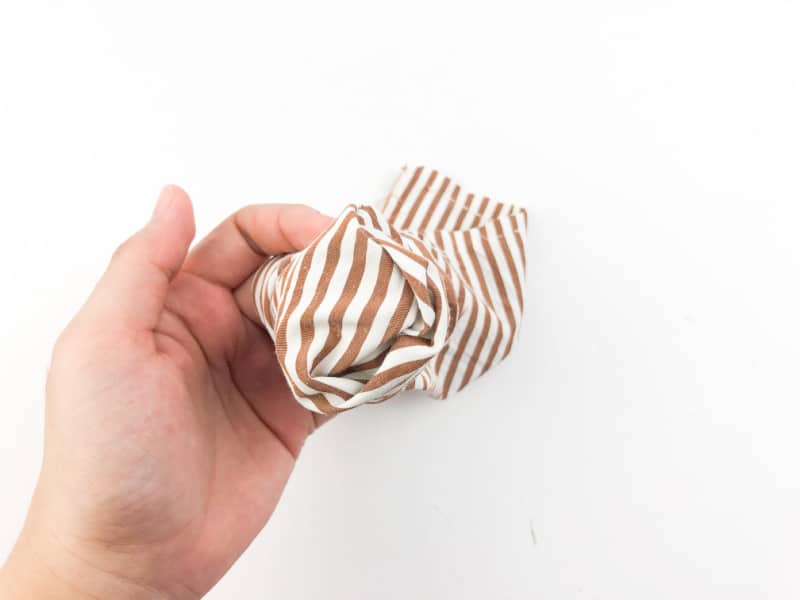
- Turn the fabric tube.
- Measure the elastic to your hand.
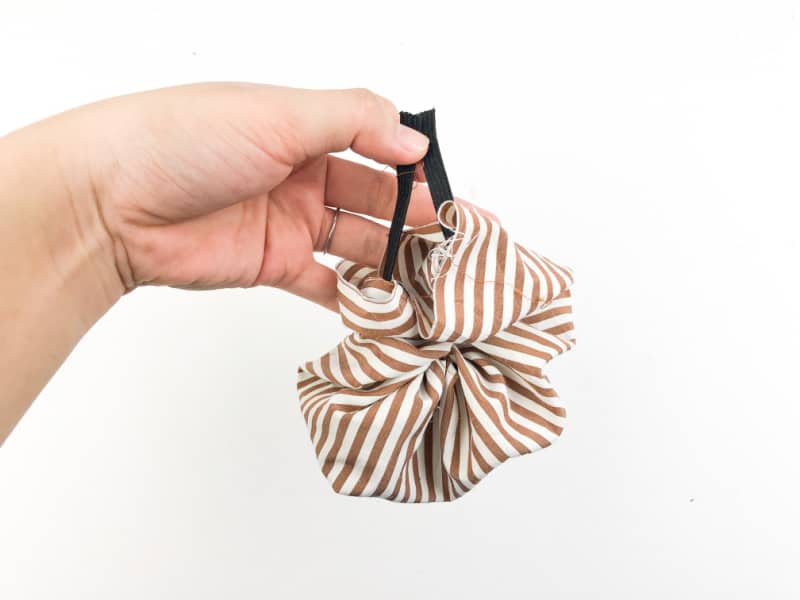
- Then insert it into the fabric tube.
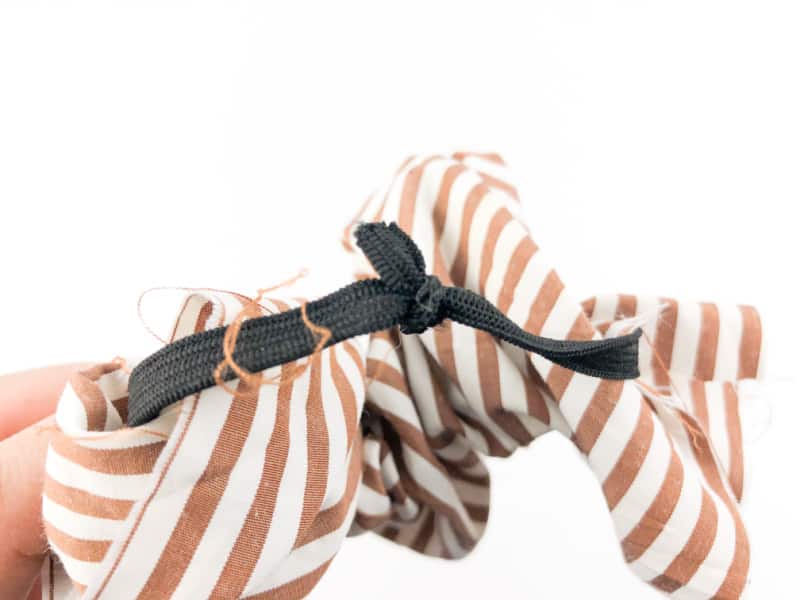
- Tie the elastic ends or you can thread it or use a safety pin.
- Lastly, sew the small opening from the one you inserted the elastic
- Add a small spot of glue with a glue gun at the end (optional).
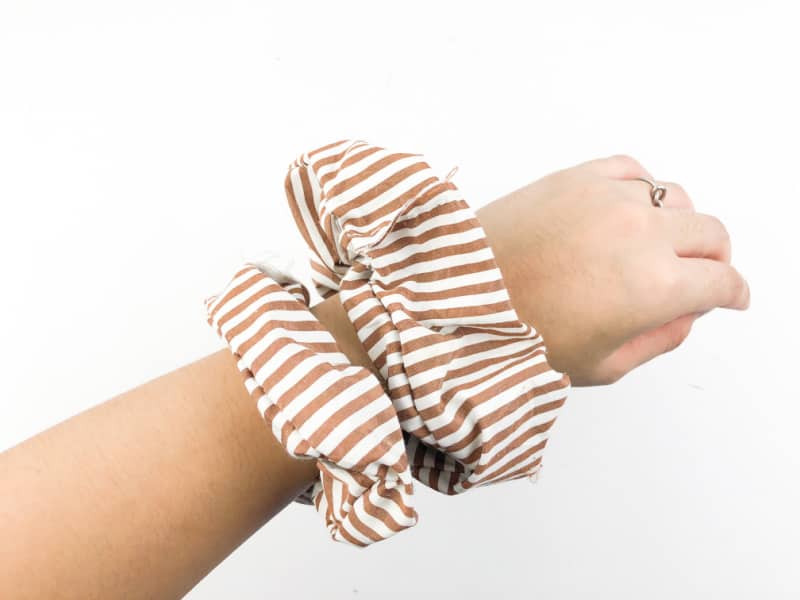
I love scrunchies and I hope that you will try making your own DIY scrunchie soon.
Related Reading
If you liked this scrunchie sewing tutorial, you may enjoy these.
- Scarf scrunchie tips
- Best hair scrunchie for thick hair
- DIY coin purse
- Eye cover for sleep tutorial
- How to iron velvet
- Fabrics that don’t need to be ironed
- Professional beauty supply stores
- What is black tie optional?
- Ironing screen printed shirts
Scrunchie Sewing Tutorial

If you're looking for a scrunchie sewing tutorial, keep reading and learn how to make a scrunchie. This scrunchie tutorial can be sewn by machine sewing or using a hand sewing needle.
Materials
- 1 yard of fabric
- 1 package of thread
- elastic
- scissors
Tools
- sewing machine (optional)
Instructions
- Cut the fabric and elastic to your desired length.
- Fold the fabric in half lengthwise with the right sides together.
- You an make use of pins to secure the layers.
- Turn the fabric.
- Measure your elastic to your hand. Then insert it to the fabric.
- Tie the elastic or you can sew it.
- Lastly, sew the small opening from the one you inserted the elastic

The Socialite’s Closet is a style and beauty destination created for women over 45 who want to feel confident, modern and effortlessly put together. Here you’ll find fashion inspiration, beauty tips and easy-to-follow styling ideas designed for real life.