
Last Updated on March 29, 2023 by Ellen Christian
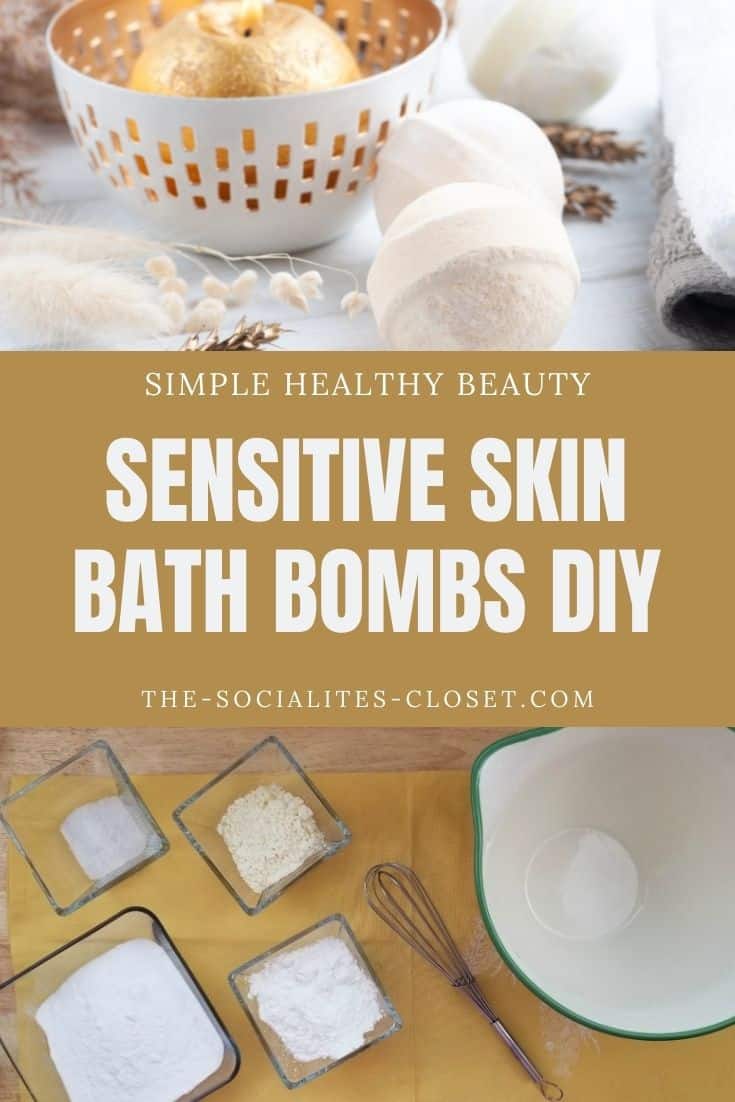
Looking for homemade bath bombs for sensitive skin? Try this sensitive skin bath bomb recipe and relax without irritating your skin.
Posts may be sponsored. This post contains affiliate links, which means I will make a commission at no extra cost to you should you click through and make a purchase. As an Amazon Associate I earn from qualifying purchases.
If you have sensitive skin, you might want to check out these shaving tips for sensitive skin.
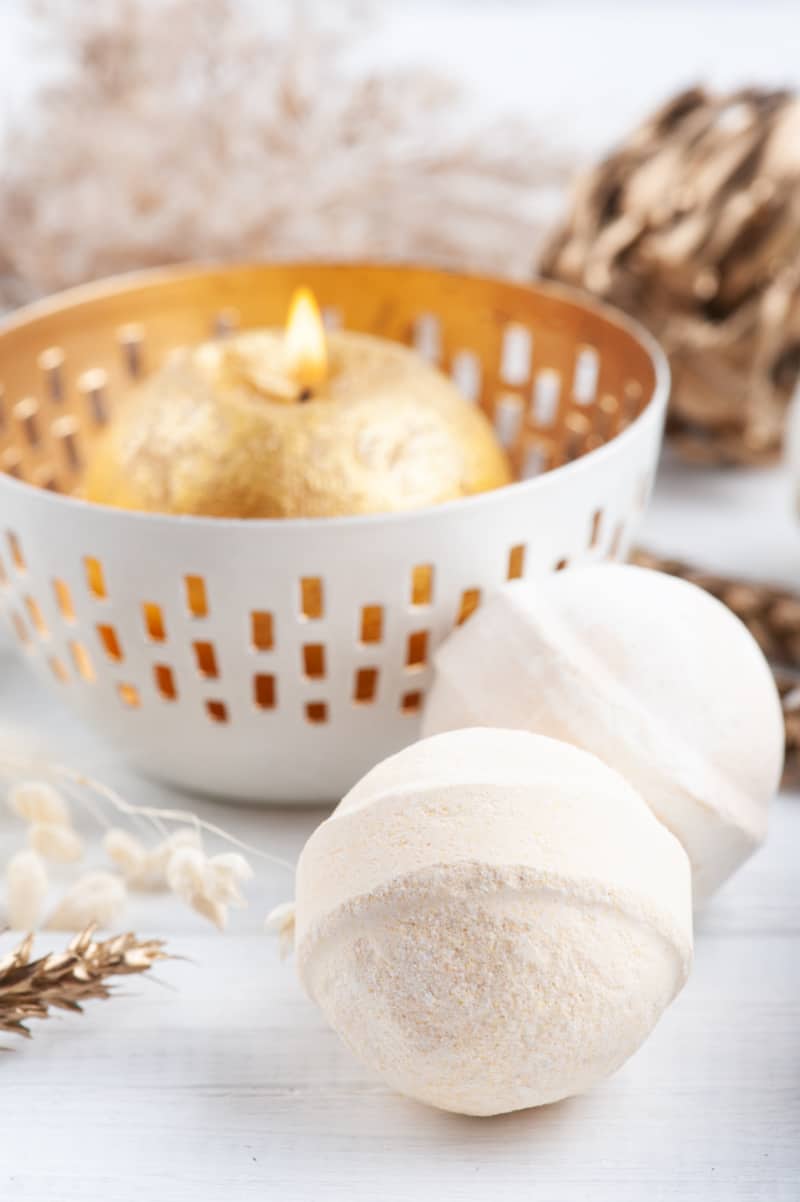
Table of Contents
Bath Bombs for Sensitive Skin
I’ve always been very sensitive to both artificial dyes and fragrances. That’s one of the reasons that I use homemade beauty DIYs so often.
When you make your own beauty products, you can control completely what you put into them. That means you are less likely to be irritated by the ingredients.
Are bath bombs bad for sensitive skin?
It really all depends on what’s in the products you use. Some of the fizzies you buy in the store contain a lot of artificial fragrances and dyes.
This can cause redness, itching, or rashes. And, it may cause a change in your feminine pH balance resulting in irritation or a yeast infection.
What bath bombs are good for sensitive skin?
If you want something that you can purchase, rather than make, I would recommend Soapie Shoppe Peppermint and Pine. I absolutely love the way they smell.
Can you be allergic to bath bombs?
It’s more likely that you’re allergic to one of the ingredients. Most commonly, it would be the fragrance or one of the artificial preservatives.
Try looking for hypoallergenic bath bombs when you’re shopping. Or, try making them yourself.
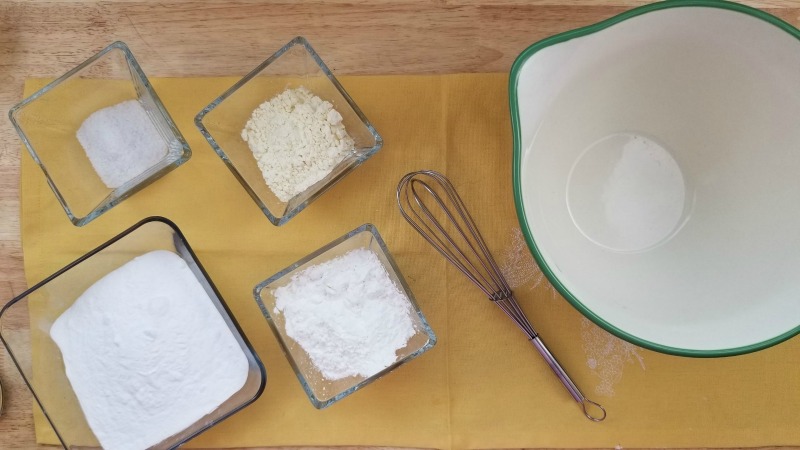
Supplies needed
- 1/2 cup baking soda
- 1/8 cup cream of tartar
- 1/4 cup arrowroot powder
- 6 tablespoons Sunflower oil
- 1/8 cup sea salt
- 20 drops rosewood essential oil
- 20 drops rose geranium essential Oil
Directions
- Mix all the dry ingredients and whisk to combine.
- Make sure that there are no clumps.
- Mix the oil and essential oils in another container. Adjust the scent of your DIY bath bombs by controlling the amount of essential oil that you use.
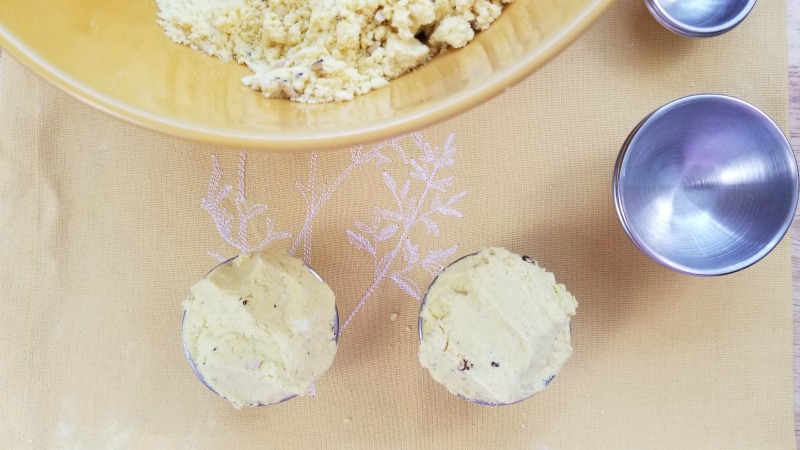
- Slowly pour the oil mix into your dry ingredients. You need to do this very slowly. If it starts to fizz, that means you are pouring the liquid too fast.
- When your mixture feels like damp sand, you’re ready to put it in the mold.
- Make sure you let the bath bombs dry for 2-3 days and unmold them carefully. They will still be fragile so be careful.
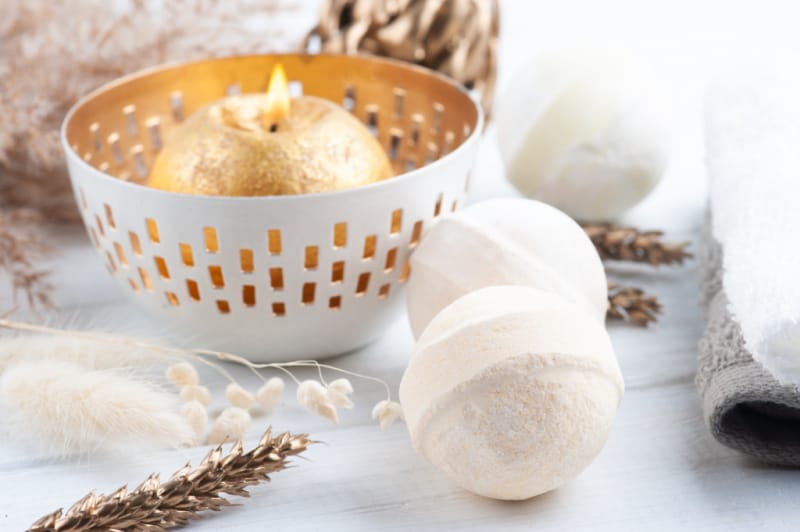
How should I store these?
Make sure that they are completely dry and then store them in a cool, dry place until you use them. Don’t keep them in the bathroom because the humidity will affect them.
You can store them in a plastic or glass container with a tightly fitting lid. Then, just take them out as you want to use them.
You can also give these as gifts. Just place them in a small basket with a loofah or a few tea bags and a candle.
Check out this homemade soap for eczema.
This product presentation was made with AAWP plugin.
Related Reading
- Relaxing orange
- Lavender chocolate bath bombs
- Clary sage for PMS
- Vitamin C
- Chamomile & Hibiscus
- Coconut oil body butter
Bath Bombs for Sensitive Skin
Looking for homemade bath bombs for sensitive skin? Try this sensitive skin bath bomb recipe and relax without irritating your skin.
Materials
- 1/2 cup baking soda
- 1/8 cup cream of tartar
- 1/4 cup arrowroot powder
- 6 tablespoons Sunflower oil
- 1/8 cup sea salt
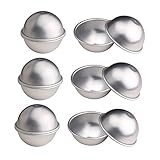
- bath bomb mold (small size)
- 20 drops rosewood essential oil
- 20 drops rose geranium essential Oil
Tools
- none
Instructions
- Mix all the dry ingredients and whisk to combine.
- Make sure that there are no clumps.
- Mix the oil and essential oils in another container. Adjust the scent of your DIY bath bombs by controlling the amount of essential oil that you use.
- Slowly pour the oil mix into your dry ingredients. You need to do this very slowly. If it starts to fizz, that means you are pouring the liquid too fast.
- When your mixture feels like damp sand, you’re ready to put it in the mold.
- Make sure you let the bath bombs dry for 2-3 days and unmold them carefully. They will still be fragile so be careful.

The Socialite’s Closet is a style and beauty destination created for women over 45 who want to feel confident, modern and effortlessly put together. Here you’ll find fashion inspiration, beauty tips and easy-to-follow styling ideas designed for real life.
I LOVE Bath Bombs! Thanks for sharing on our Linky Party!
Thanks for stopping by!
My little grandson has very sensitive skin, but he loves bath bombs. I just may make these for some stocking stuffers this year! Thanks for the wonderful tutorial! I’ve pinned to two boards, and I’m delighted to be featuring you tomorrow at Tuesday Turn About!
Thanks so much, Julie!
I have very sensitive skin and almost always react to store-bought bath bombs because of the scent. Thank you for this recipe – pinned to try!
This looks so good! What a great gift to make for friends!
Thanks so much for stopping by!
Thanks for sharing! Does it keep long?
It should keep for several months in an air-tight container stored somewhere dry. Thank you for stopping by.
Mine have been air drying for a week and are very crumbly/soft. any tips to make them more sturdy? It’s like they haven’t bound properly.
If the bath bombs are not packed tightly enough or the mixture is too dry, they will crumble. You can crumble them up and store them in a plastic bag. Then, just sprinkle the powder in your tub. You cannot fix them at this point.