
Last Updated on May 6, 2023 by Ellen Christian
Have you heard of a Vitamin C bath bomb? Vitamin C is often used in skin care products because it helps to even skin tone, reduces acne, and reduces age spots. Not only is Vitamin C great for your skin, but it also helps to lighten your skin. As women get older, many start to get age spots. And, lightening skin treatments can help with that.
Posts may be sponsored. This post contains affiliate links, which means I will make a commission at no extra cost to you should you click through and make a purchase. As an Amazon Associate I earn from qualifying purchases.
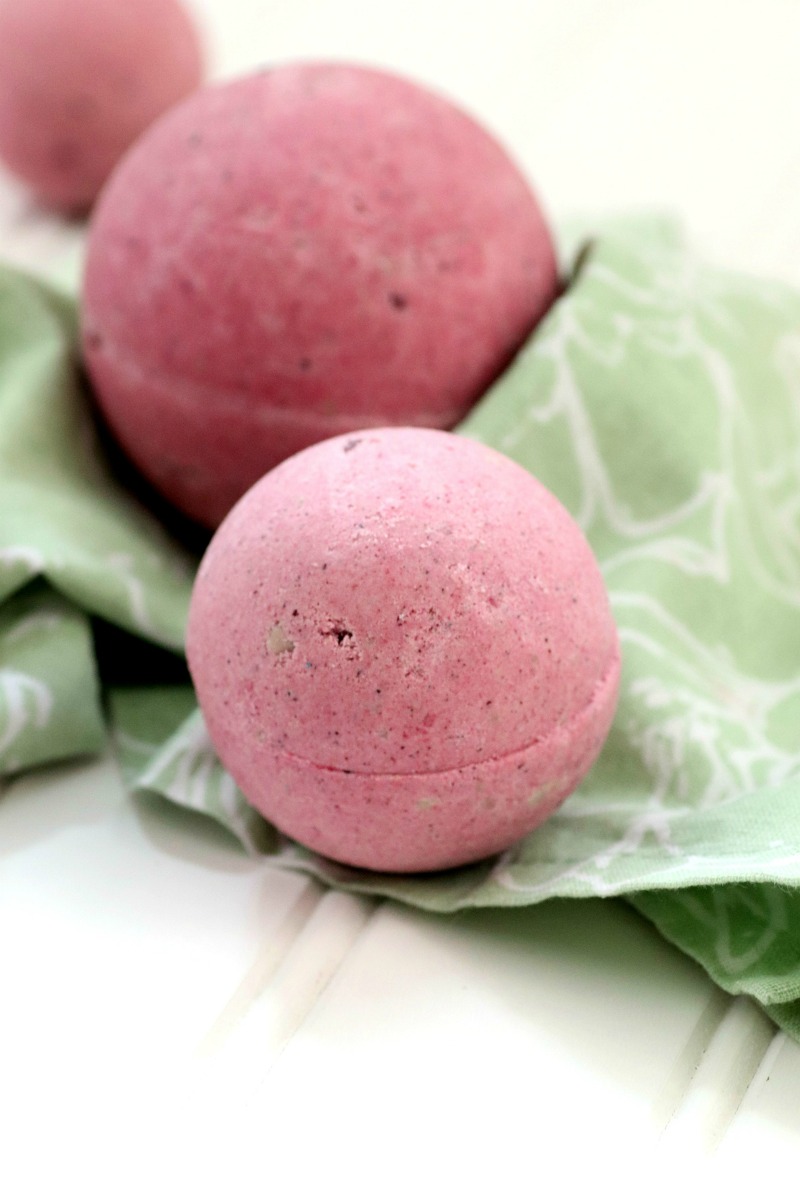
Table of Contents
Vitamin C Bath Bomb
So, there are a variety of different ways you can make a Vitamin C bath bomb. Of course, your bath bomb will need to have other ingredients in it as well as Vitamin C. That way it will hold its shape in the mold. And, ingredients like buttermilk, coconut oil, and kaolin clay help to soften your skin. Learn more about the benefits of Vitamin C in this article.
One of the reasons that I love bath bombs so much is that they are an easy, inexpensive way to pamper yourself. Sure, you could go out to your favorite upscale beauty store and buy your bath bombs instead. But, I always worry about the ingredients in the bath bombs I buy at the store. I know they use artificial dyes and preservatives that I’d rather not soak in. This Vitamin C bath bomb recipe is loaded with good for your ingredients so you don’t need to worry about using them.
Are bath bombs good for you?
Bath bombs with health ingredients are definitely good for your skin. Ingredients like buttermilk, kaolin clay, coconut oil, cocoa butter, and beet powder all do awesome things for your skin.
And the added essential oils are great for your mental health. But, using a bath bomb with less than quality ingredients isn’t as good for your skin.
That’s why it’s so important to read the ingredients on anything that you purchase from the store.
If you’re looking for a bath bomb recipe without cornstarch, you’re in luck. This recipe does not use cornstarch at all. That makes it a great choice for those with corn allergies or who would prefer not to use a corn byproduct.
How to make bath bombs for kids
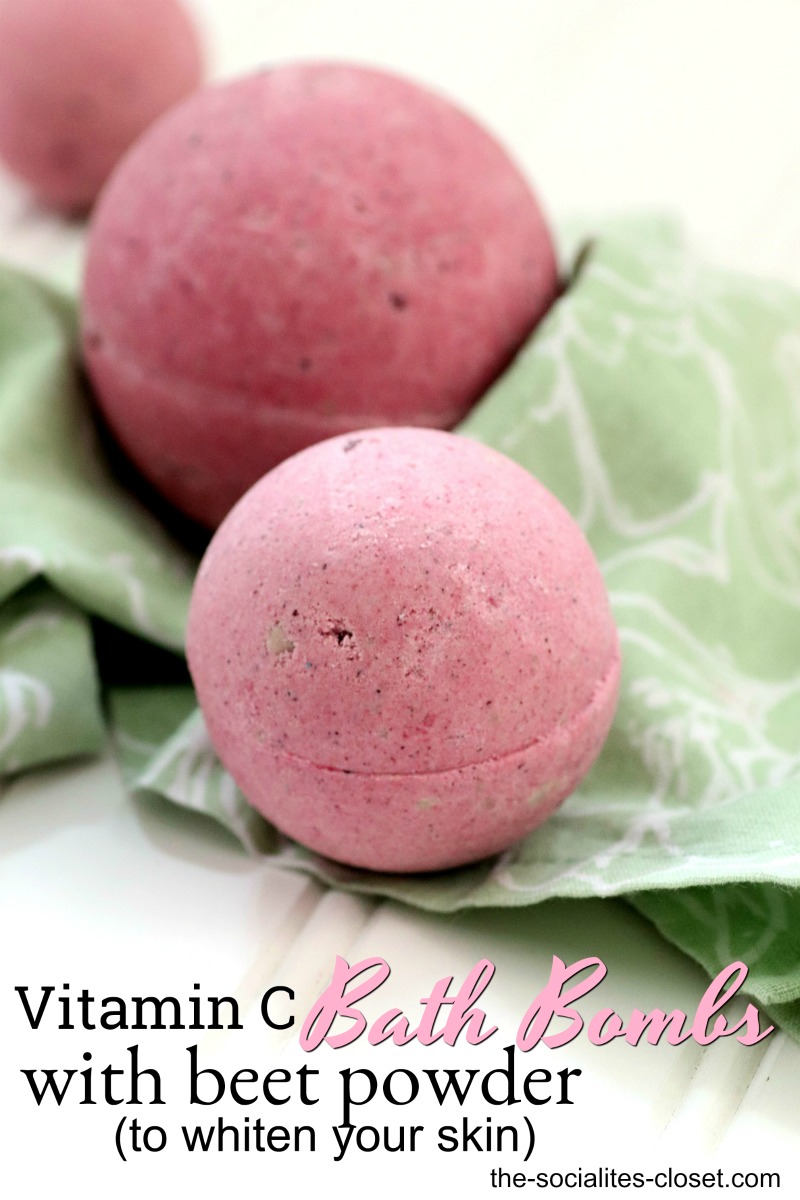
There’s no reason that the kids can’t enjoy a bath bomb every now and then provided they use good-for-your ingredients. So, this Vitamin C bath bomb is a great choice. And, the beet powder makes the bath bombs a fun pink color.
Vitamin C Bath Bomb with Beet Powder
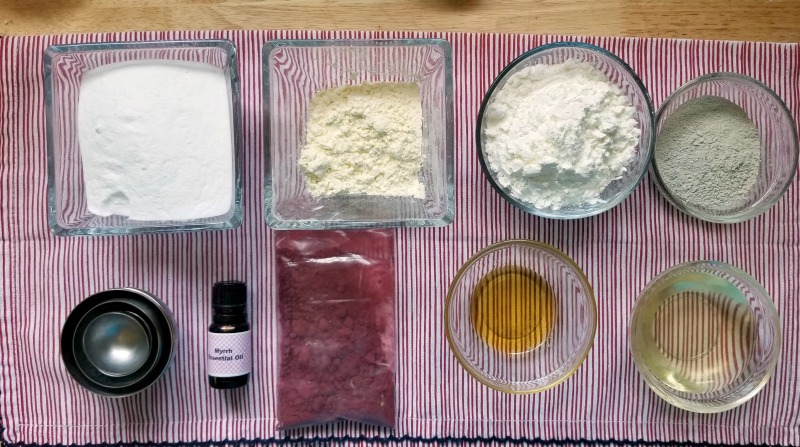
Supplies:
- 2 cups baking soda
- 1 cup powdered buttermilk
- 1/4 cup arrowroot
- 1/4 cup kaolin clay
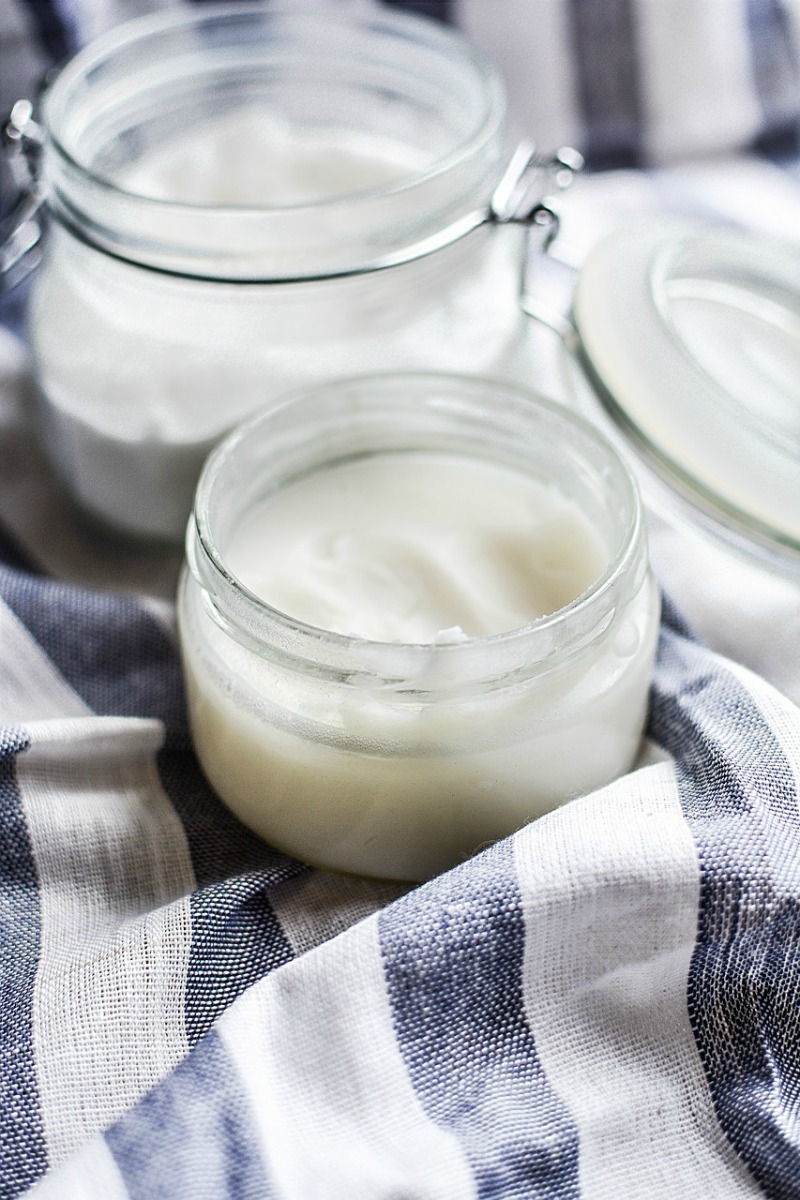
- 1/3 cup coconut oil
- 1 tablespoon cocoa butter
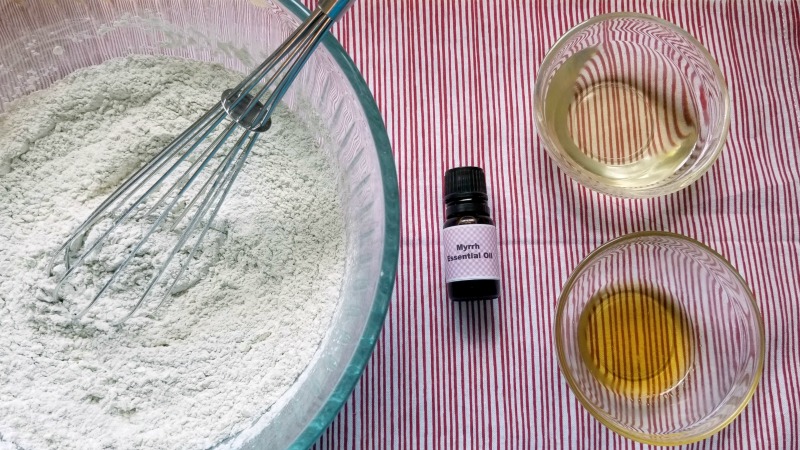
- 1 teaspoon of myrrh essential oil
- 2 tablespoons beet powder
- Stainless steel bath bomb molds
- Spray bottle filled with rubbing alcohol
- 1 large mixing bowl

Vitamin C Bath Bombs instructions
The number of bath bombs this recipe will make completely depends on which size bath bomb mold you use. This DIY shows 1 large and two small.
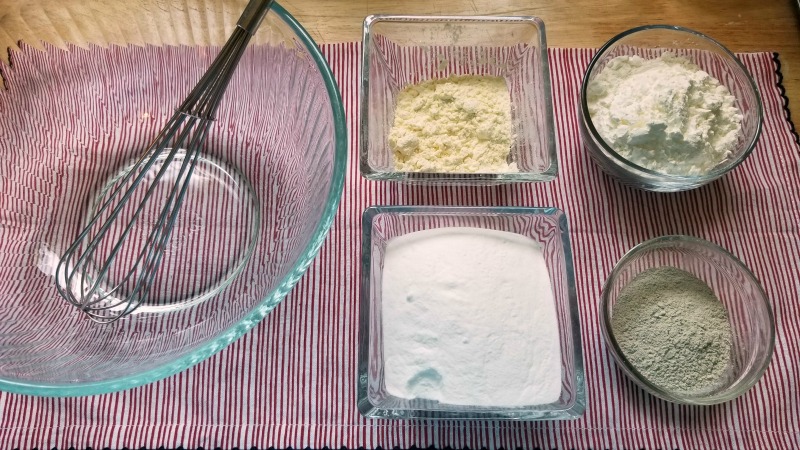
In a large mixing bowl, add the baking soda, buttermilk, arrowroot powder (this is an organic and eco-friendly starch) and kaolin clay.
Whisk dry ingredients together.
Step 6: Add the coconut oil. This binds all the ingredients together, so you don’t have bath bombs that crumble. You can also use 90% isopropyl alcohol, but I feel the coconut oil holds the mixture together more effectively.
Add the cocoa butter. This gives your Vitamin C bath bombs more stability and hardens them, so your bath bombs don’t crumble when you touch them!
Add myrrh essential oil. Mix ingredients thoroughly. You may need to use your hands to break down any lumps and make sure everything is mixed in.
The mixture is perfect when it holds together when you press it into your hands and feels like wet sand. Finally, mix in the beet powder.
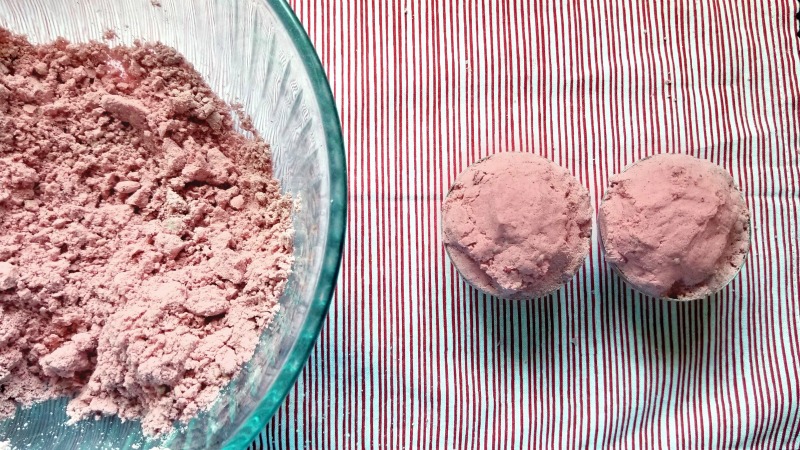
Fill both sides of the mold with the mixture, press molds together and grind to remove the excess mixture. Gently tap each side of the mold to release the bombs.
Allow to dry a minimum of 24 hours. If your climate is wet or cold, allow an additional 24 hours. My rule of thumb is that when it is hard to the touch, they are ready for the tub! Store in an airtight container until ready for use.
Related Reading
I just love the pink color of these Vitamin C bath bombs. You can use them for yourself or give a few as a gift. So, here are a few more bath bomb recipes you might want to try:
- Herbal Bath Bomb
- Make Natural Bath Bombs with Turmeric
- Earl Grey and Lavender Bath Bombs
- Bath Bombs Recipe for Headache Relief
- Professional beauty supply stores
- Coconut oil body butter
Vitamin C Bath Bomb DIY with Beet Powder
Vitamin C Bath Bomb DIY with Beet Powder
Materials
- 2 cups baking soda
- 1 cup powdered buttermilk
- 1/4 cup arrowroot
- 1/4 cup kaolin clay
- 1/3 cup coconut oil
- 1 tablespoon cocoa butter
- 1 teaspoon of myrrh essential oil
- 2 tablespoons beet powder
- Stainless steel bath bomb molds
- Spray bottle filled with rubbing alcohol
- 1 large mixing bowl
Tools
- none
Instructions
- In a large mixing bowl, add the baking soda, buttermilk, arrowroot powder (this is an organic and eco-friendly starch) and kaolin clay. Whisk dry ingredients together.
- Add the coconut oil. This binds all the ingredients together, so you don’t have bath bombs that crumble. You can also use 90% isopropyl alcohol, but the coconut oil holds the mixture together more effectively.
- Add the cocoa butter. This gives your bath bombs more stability and hardens them, so your bath bombs don’t crumble when you touch them!
- Add myrrh essential oil. Mix ingredients thoroughly. You may need to use your hands to break down any lumps and make sure everything is mixed in. The mixture is perfect when it holds together when you press it into your hands and feels like wet sand.
- Mix in the beet powder.
- Fill both sides of the mold with the mixture, press molds together and grind to remove the excess mixture. Gently tap each side of the mold to release the bombs.
- Allow to dry a minimum of 24 hours. If your climate is wet or cold, allow an additional 24 hours. My rule of thumb is that when it is hard to the touch, they are ready for the tub! Store in an airtight container until ready for use.
Recommended Products
As an Amazon Associate and member of other affiliate programs, I earn from qualifying purchases.
-
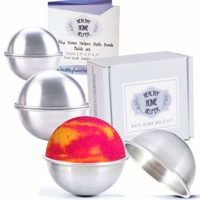
 Stainless Steel Bath Bomb Molds Professional Set of 3 Sizes. Heavy Duty Metal, Dent and Rust Proof by Healthy Home Helper.
 -
Myrrh Essential Oil - Pure & Natural Therapeutic Grade Essential Oil - 10ml
-
Organic Beet Root Powder (1 lb) by Naturevibe Botanicals, Raw & Non-GMO | Nitric Oxide Booster | Boost Stamina and Increases Energy [Packaging May Vary]
![Organic Beet Root Powder (1 lb) by Naturevibe Botanicals, Raw & Non-GMO | Nitric Oxide Booster | Boost Stamina and Increases Energy [Packaging May Vary]](https://the-socialites-closet.com/wp-content/uploads/2019/08/81EEl0Tba8L._SY450_-200x200.jpg)

The Socialite’s Closet is a style and beauty destination created for women over 45 who want to feel confident, modern and effortlessly put together. Here you’ll find fashion inspiration, beauty tips and easy-to-follow styling ideas designed for real life.