
Last Updated on February 19, 2024 by Ellen Christian
Check out these easy bath bombs instructions! Learn how to make Ear Grey and Lavender bath bombs as a gift for yourself or someone else.
Posts may be sponsored. This post contains affiliate links, which means I will make a commission at no extra cost to you should you click through and make a purchase. As an Amazon Associate I earn from qualifying purchases.
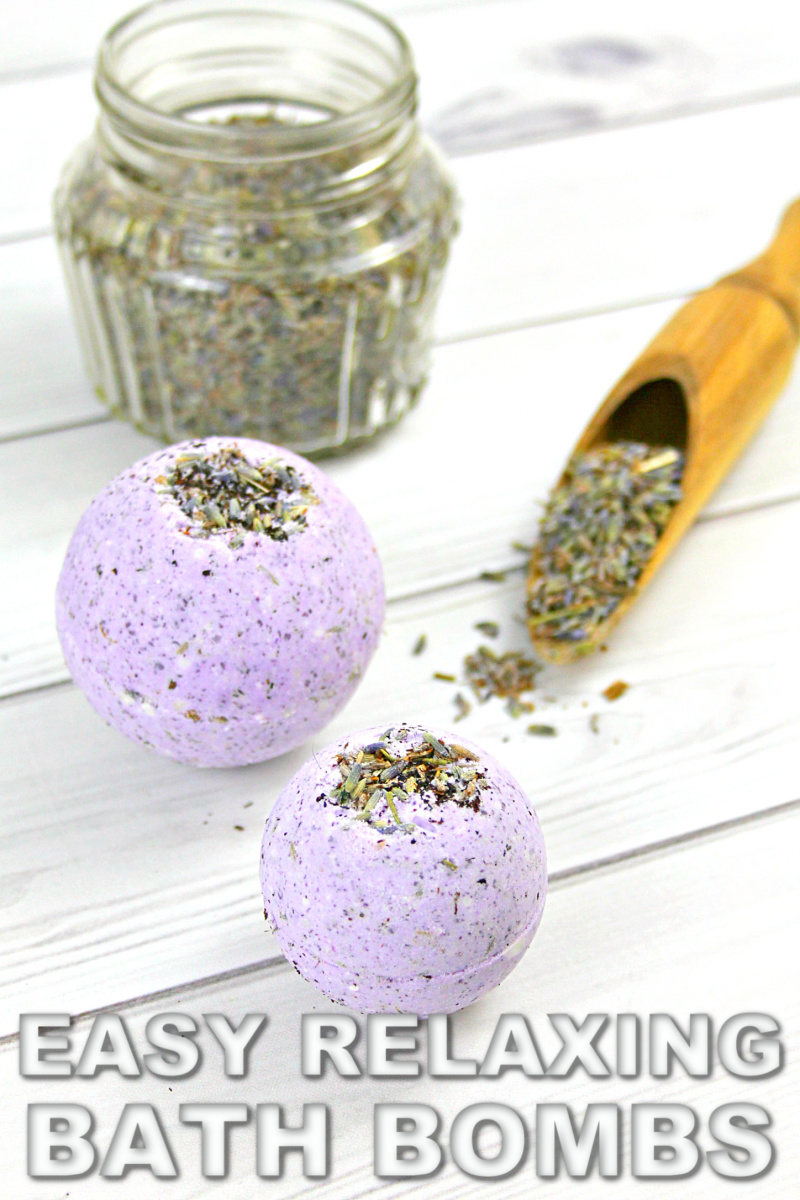
Table of Contents
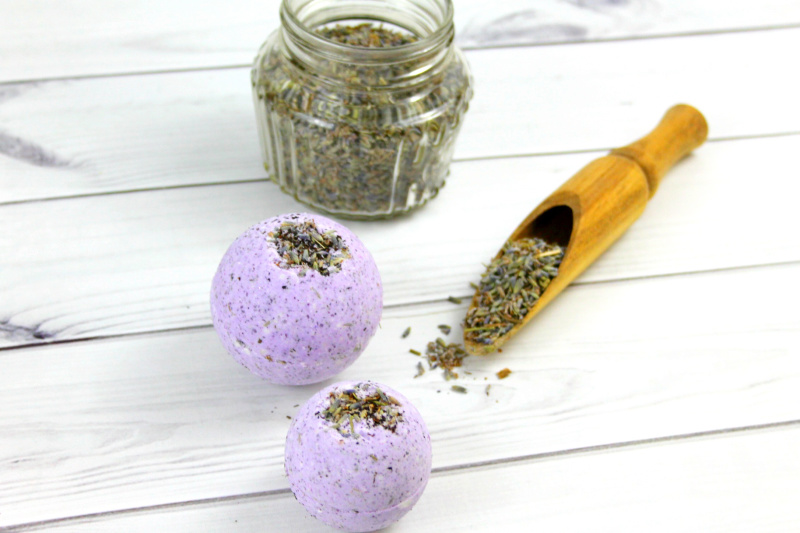
Earl Grey & Lavender Bath Bomb
I love homemade body products because I am in control of the ingredients that are used. Using them is a wonderful way to pamper yourself. Or, make them as a gift for someone else.
You can follow these bath bombs instructions to make Earl Grey & Lavender Bath Bombs. With a few simple tweaks, you can change scent if you like.
But, lavender has always been one of my favorite scents. It’s perfect for relaxing at night after a long day. It’s part of my simple beauty routine that I use to help manage stress.
Are bath bombs good for your skin?
So, it all depends on what the bath bombs are made of. This Earl Grey & Lavender bath bomb recipe uses dead sea salts, kaolin clay, and coconut oil.
All of these are good for your skin. So, the bath bombs will help leave your skin soft and smooth.

Can you get a yeast infection from bath bombs?
Yeast grows in warm, wet areas. So, it’s important to use natural ingredients like dried lavender rather than using artificial fragrance oils.
Limit your bath bomb usage to once a week. And, if you do have a reaction, discontinue use immediately. If you’re concerned, you can leave out the colorant because it’s completely optional.
Earl Grey and Lavender Bath Bombs Recipe
So, follow these simple bath bombs instructions using the ingredients below. You can try substituting your favorite herbs instead of lavender if you like.
However, you’ll need to experiment with quantity because each herb is different.
Supplies:
2 cups baking soda
1 cup citric acid (It’s better to buy in bulk on Amazon)
1/4 cup cornstarch
1/4 cup dead sea salts
Lavender soap colorant (optional)
1/4 cup kaolin clay
1/3 cup coconut oil
1 teaspoon polysorbate 80
4 tea bags or 4 tablespoons of Earl Grey Tea
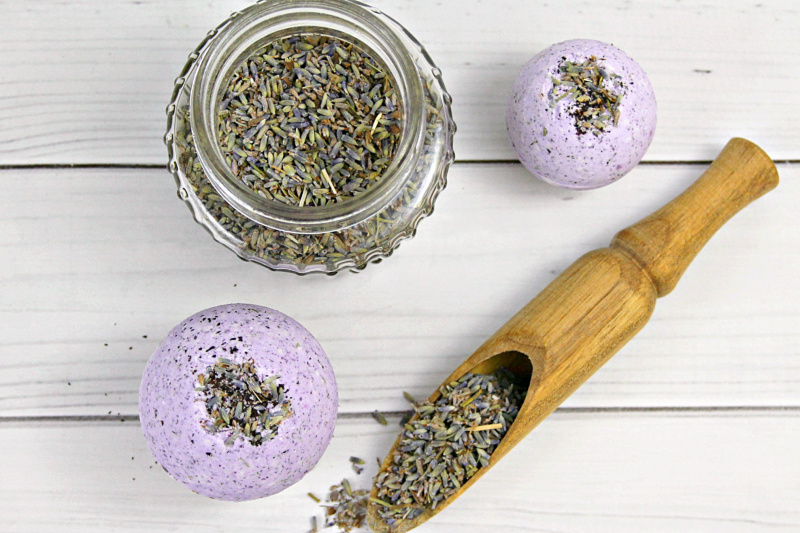
1 tablespoon dried lavender
Stainless steel bath bomb molds
Spray bottle filled with rubbing alcohol
1 large mixing bowl
Bath bombs instructions
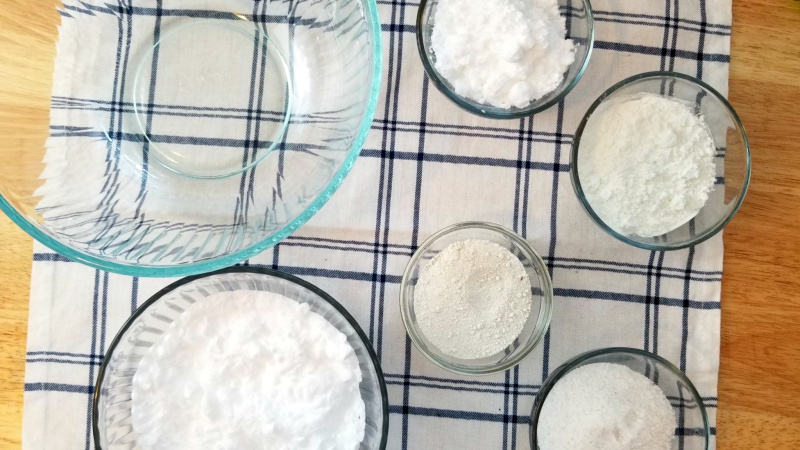
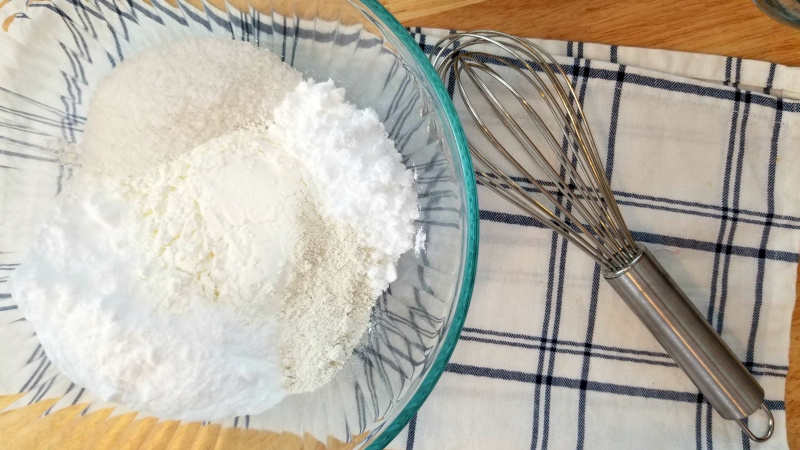
Steps 1-6: In a large mixing bowl, add the baking soda, citric acid, dead sea salts, and cornstarch. Whisk dry ingredients together.
Step 7: Add the coconut oil. This binds all the ingredients together, so your bath bombs don’t crumble when you touch them! This is one of the most important parts of the bath bombs instructions.
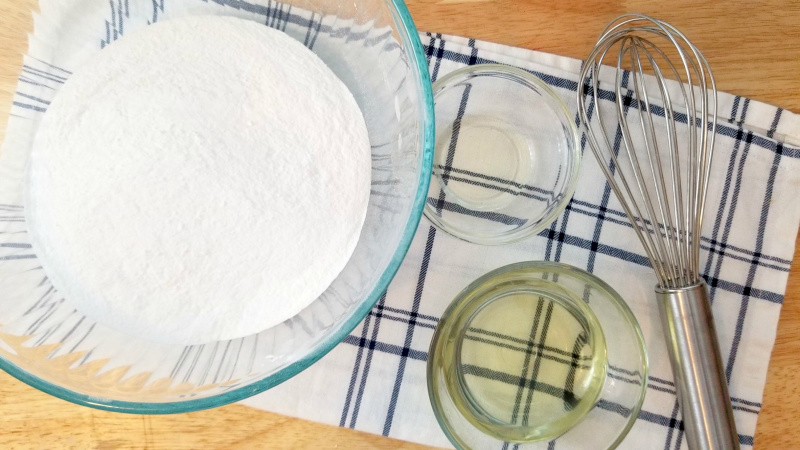
Steps 8-9: Add the polysorbate 80. This helps the coconut oil disperse more evenly in your bath water, makes the bath bombs bubbly and prevents the mica from sticking to the side of the tub.
Mix wet ingredients in well. You may need to use your hands to break down any lumps and make sure everything is mixed in.
The mixture is perfect when it holds together when you press it into your hands and feels like wet sand.
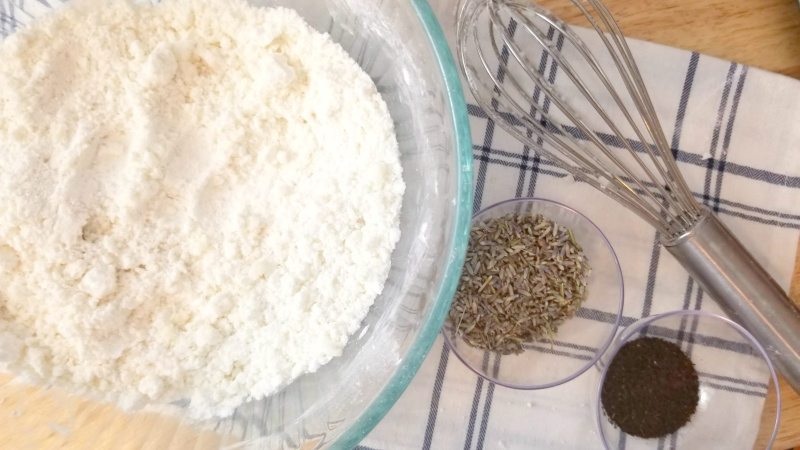
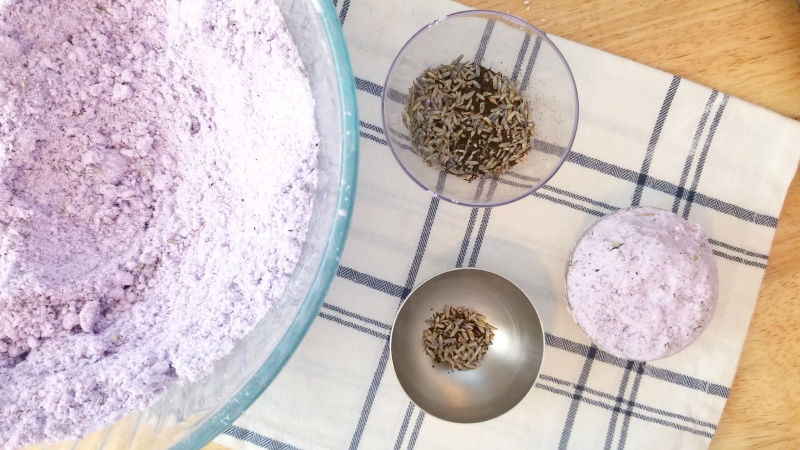
Steps 10-11: Add 3 1/2 tablespoons of the Earl Grey tea and 1/2 tablespoons of the dried lavender. Mix well.
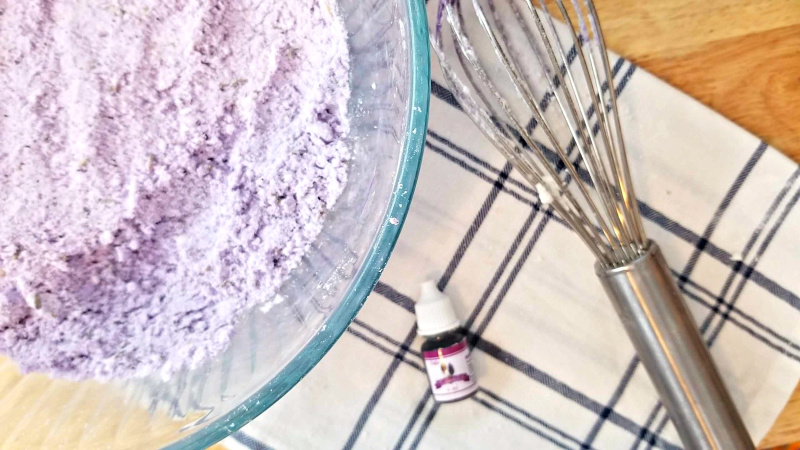
Steps 12-13: Add 1-2 drops of the lavender colorant. Mix well. Continue to add color until you achieve the color you desire. However, you can skip this step if you like.
Steps 14-17: Add a bit of the tea and lavender mixture into one side of the mold and gently add the bath bomb mixture until the mold is overflowing. Fill the other side of the mold with the mixture and press molds together and grind to remove the excess mixture. Gently tap each side of the mold to release the bombs.
Now, allow them to dry a minimum of 24 hours. If your climate is wet or cold, allow an additional 24 hours. A rule of thumb is that when it is hard to the touch, they are ready for the tub! Finally, store in an airtight container until ready for use.
DIY beauty products
So, check out the video above for a visual of the bath bombs instructions. And, I hope you will take some time to make this bath bombs recipe soon!
If you like DIY beauty recipes, check out these chocolate beauty products you can make at home because there are lots to try. Or, check out this fizzy bath bomb recipe.
If you’re looking for something uplifting, you have to try these orange bath bombs.

The Socialite’s Closet is a style and beauty destination created for women over 45 who want to feel confident, modern and effortlessly put together. Here you’ll find fashion inspiration, beauty tips and easy-to-follow styling ideas designed for real life.