Last Updated on December 12, 2022 by Ellen Christian
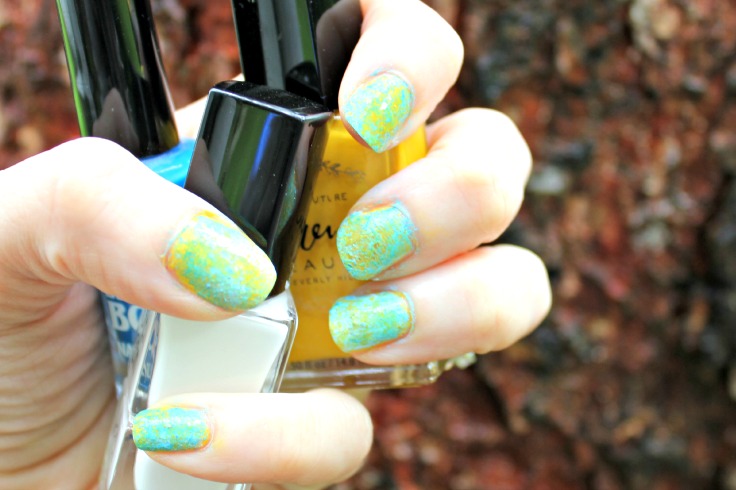
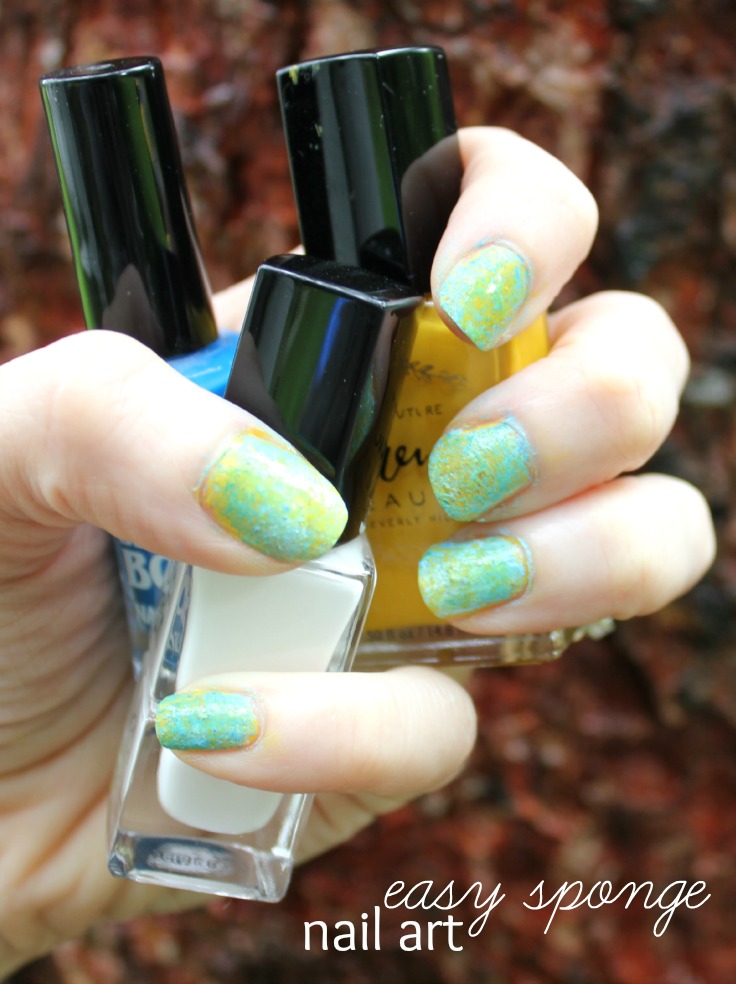
These easy nail designs with a sponge are perfect for even a beginner. You can duplicate this simple nail sponging technique in no time at all.
Posts may be sponsored. This post contains affiliate links, which means I will make a commission at no extra cost to you should you click through and make a purchase. As an Amazon Associate I earn from qualifying purchases.
Table of Contents
Easy Nail Designs with a Sponge
So you know how you go on Pinterest and search for easy nail designs and nothing you try actually looks like it’s supposed to? Either I am horrible at doing nail art of their idea of easy is drastically different than mine.
I really wanted to make one of the designs I found on Pinterest but after 2 hours and 8 botched attempts, I decided it’s not going to work for me.
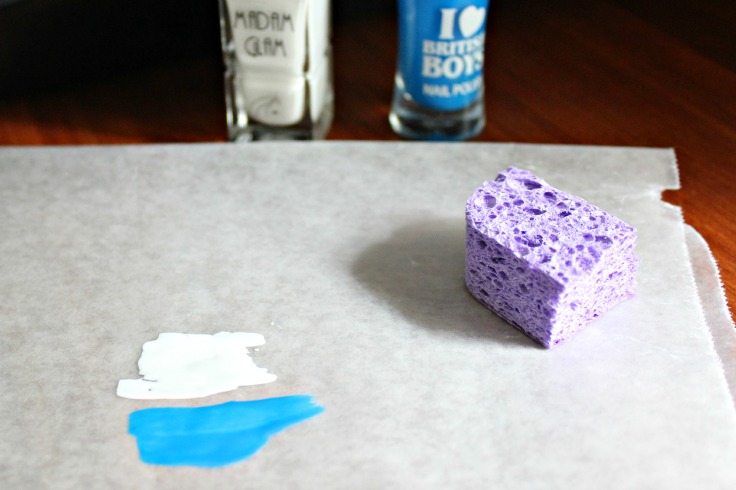
Thankfully, I found out there are easy nail designs with a sponge that I can actually do. You can use a special make up sponge for this or you can just use a cheap kitchen sponge which is what I did.
Just cut off a corner of the sponge to use and discard so you can save the rest for another project.
This product presentation was made with AAWP plugin.
Supplies
- Three different nail polish colors
- 1 household sponge
- Wax paper
- Clear coat nail polish
- Nail polish remover
Directions
It really doesn’t get much easier than this.
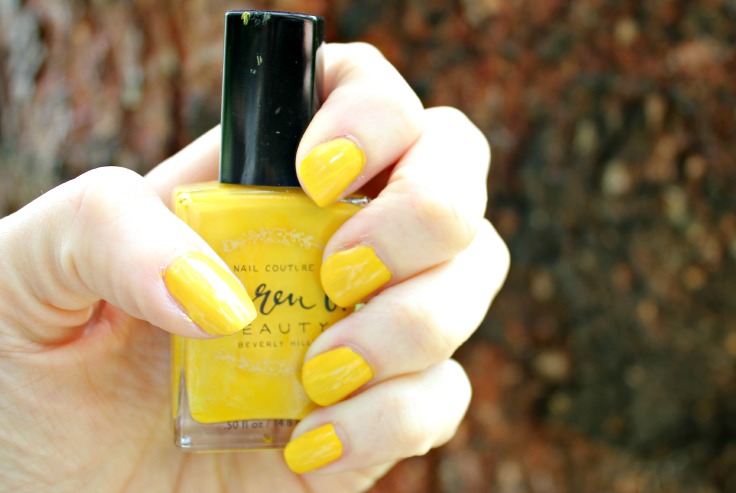
- Paint your nails one color. Use one or two coats to get good coverage.
- Let them dry completely.
- Put a bit of the other two nail polish colors on a piece of wax paper.
- Quickly swirl the two colors together using the piece of sponge.
- Dab the sponge into the two colors and swirl.
- Press against your nails in a random pattern.
- Let dry completely.
- Remove any polish that got on your cuticles or fingers with nail polish remover.
- Cover with a coat of clear polish.
That’s all there is to it. You can do it in an ombre shade going light to dark if you want or you can pick colors to match your favorite holiday or your favorite dress.
Related Reading

Ellen believes you can feel beautiful at any age and size. She shares healthy beauty and fashion information geared toward women over 40. She is a direct sales rep for several fashion and beauty businesses.


Ooh, that looks pretty. You should check out my friend Alisha’s blog, she’s from Nashville and really likes nail art … I forget the name offhand but I’m FB friends w/ her.
Thanks, Liz. I’ll have to look for it.
What a clever idea – and so simple. Your nails look really pretty. If I were working I’d surely give this a try.
You should treat yourself now, Patty 🙂
Very interesting angle on nail design. Thank you for sharing.
Glad to share, Nicole!
I really like the yellow and turquoise. I think I could even do this! All the nail things look so much easier than the are! Does your daughter help you apply it?
Thanks, Shelley. She does help occasionally when she has time.
I agree, I’ve tried a few beauty DIY tutorials and a majority of them have come out complete and utter fails! Thank you for posting an EASY nail tutorial that we can all do regardless of our skill levels. LOL
Always glad to share, Kayla!
Love the colors you chose! Nice and vibrant for the Summer!
Thanks, Layne!
This came out great! Very creative and it isn’t too difficult either. This would be a fun project to do with my daughters 🙂
Thank you. I bet they’d enjoy it!
I am beyond hopeless when it comes to my nails. I just can’t keep polish on my nails and off of my hands., which is why I have them done in the salon every three weeks.
It’s always fun to splurge at the salon!
That looks super easy! I have been nervous trying to use a sponge to paint my nails.
It’s definitely easy, Jacqui. Hope you’ll try it.