Last Updated on October 21, 2022 by Ellen Christian
Are you wondering how to use an eyelash curler to get lash curls? Check out these eyelash curler tips and learn how to use it properly.
Posts may be sponsored. This post contains affiliate links, which means I will make a commission at no extra cost to you should you click through and make a purchase. As an Amazon Associate I earn from qualifying purchases.

Table of Contents
How to Use an Eyelash Curler
I had a lot of beauty regrets in high school but one of the ones that stood out the most was the lack of lash curls. My best friend had the most gorgeous long eyelashes I had ever seen and getting lash curls was never an issue for her. I struggled for years to learn how to use an eyelash curler to replicate her look and never quite got it.
Learning how to use an eyelash curler will not only help with lash curls, it’s the easiest way to make your lashes look longer. A good eyelash curler will instantly make your eyes look more open which is another plus for me. You need to find an eyelash curler that is easy to use without pinching your skin or bending your lashes unnaturally. Here are some tips to help you get the best results.
How do you use an eyelash curler properly?
- You must start with clean, dry, mascara-free lashes. Remove all traces of eye shadow, liner, and mascara before using the eyelash curler.
- Choose an eyelash curler with a silicone pad that will make it easier to hold the lashes when using the curler.
- An eyelash curler needs to be easy to hold and that means it needs to have a comfortable grip that won’t slip.
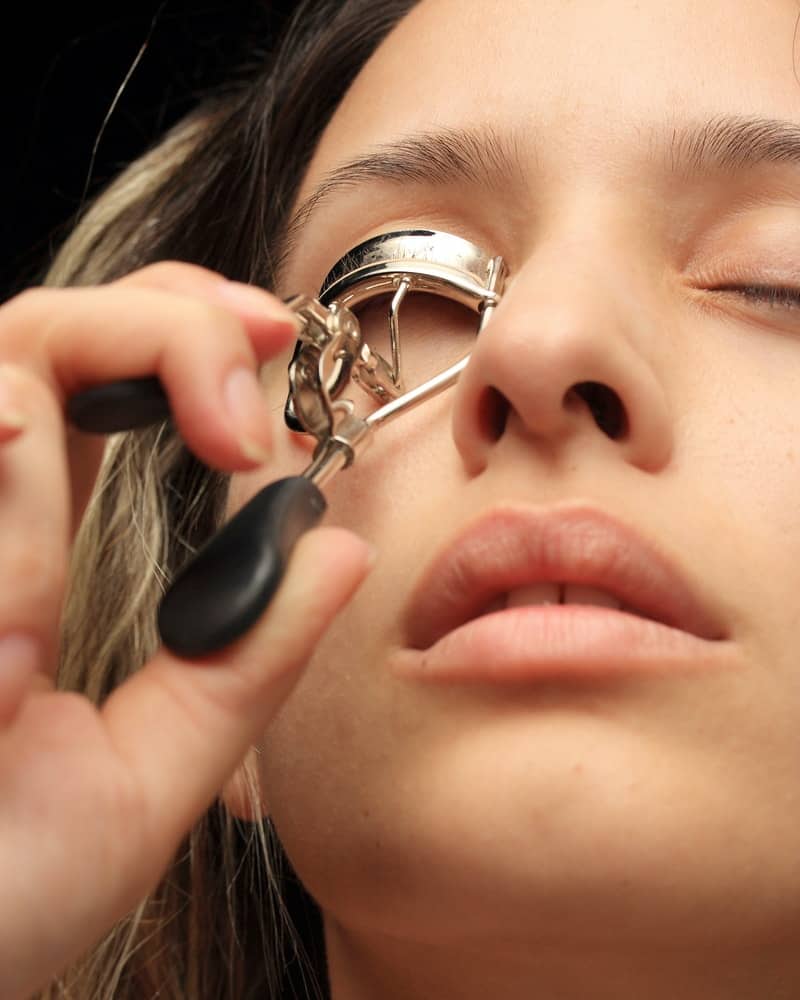
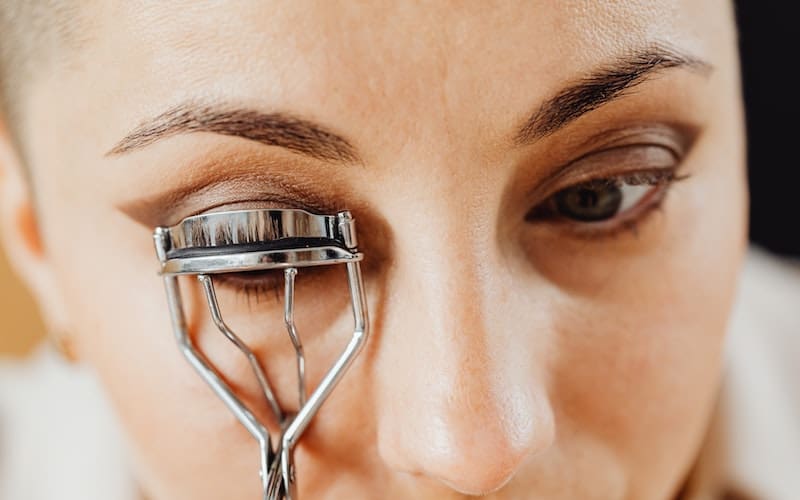
- Start at the base of your lashes and be certain to get every lash in the curler. This takes practice. Hold for 2-3 seconds for a gentle curl. You don’t want a weird bend in your lashes which may happen if you hold it for longer.
- I curl my lashes in two separate steps. I curl close to the eyelid and then once further out for that little curl at the edges of my lash.
- Follow up with your favorite mascara to separate the lashes when done. Be certain to use mascara with a stiff brush so the lashes separate easily and don’t get clumped together.

Best eyelash curler I’ve tried
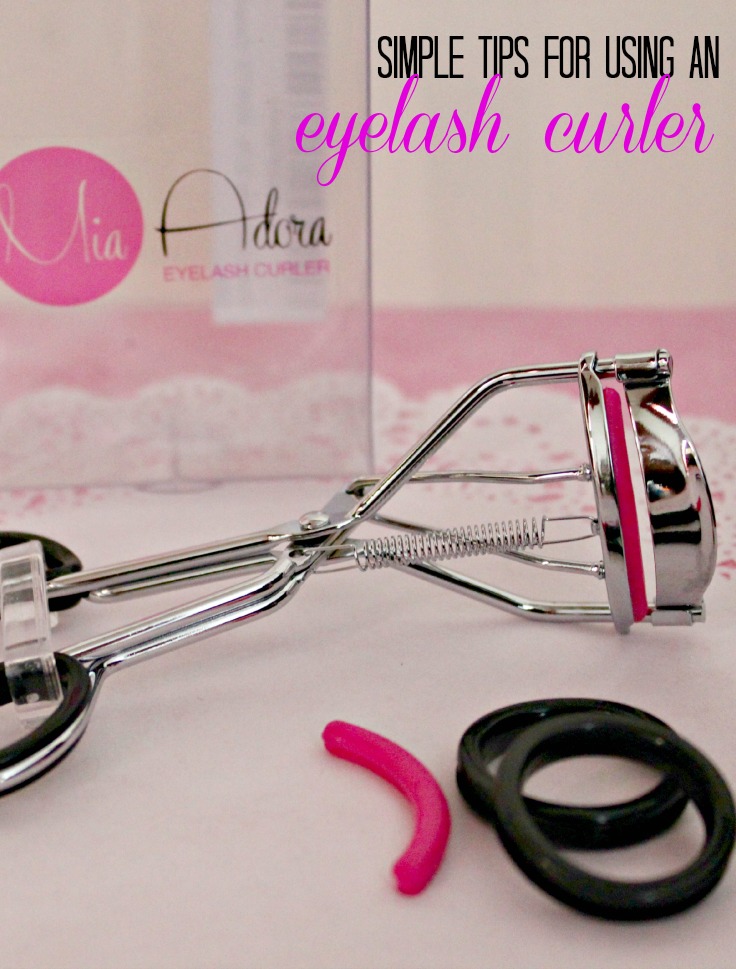
I’ve been using the Mia Adora Eyelash Curler for a while and I’m impressed with how easy it is to use. It has silicone padding on the curler which is vital (in my opinion) if you don’t want an awkward crease in your lashes. PLUS, it comes with a replacement silicone pad for future use.
The eyelash curler itself is easy to hold onto and the has a nonslip handle that’s padded. There are even replacement pads for the handle although I have seen no need to replace them.
While the Mia Adora is no longer available, the Kaasage has the same custom padding on the curler and works the same way. You can find it here.
When I got the Mia Adora Eyelash Curler, it came with a free ebook that has tips and tricks for getting amazing eyelashes. You can use the Mia Adora Eyelash Curler with natural lashes, false lashes, or 3D Fiberlash Mascara. If you’re looking for an easy way to learn how to use an eyelash curler to get lash curls, the Mia Adora Eyelash Curler is definitely it.
More eyelash tips
Now that you know how to use an eyelash curler, you might want to read these.
- How to get long eyelashes with mascara
- Natural eyelash growth remedies
- Rimmel London Lash Accelerator mascara
- How to choose the right mascara brush

Ellen believes you can feel beautiful at any age and size. She shares healthy beauty and fashion information geared toward women over 40. She is a direct sales rep for several fashion and beauty businesses.


these are great tips- I have always wondered how to care for and keep my curler clean. I try not to wear heavy mascara, but somehow it always ends up more on the curler than my lashes!
Definitely use it before you add the mascara. It really helps!
I have to curl my eyelashes or they wind up hitting my glasses and getting mascara all over my field of vision. My curler was a gift and doesn’t have a silicone pad, but next time I am at a beauty store I’ll be looking for one with the pad!
The pad really does make all the difference!