
Last Updated on April 17, 2024 by Ellen Christian
Check out this DIY Dollar Tree makeup organizer. If you’re looking for ideas for storing makeup, this is one of my favorite dollar store hacks.
Posts may be sponsored. This post contains affiliate links, which means I will make a commission at no extra cost to you should you click through and make a purchase. As an Amazon Associate I earn from qualifying purchases.
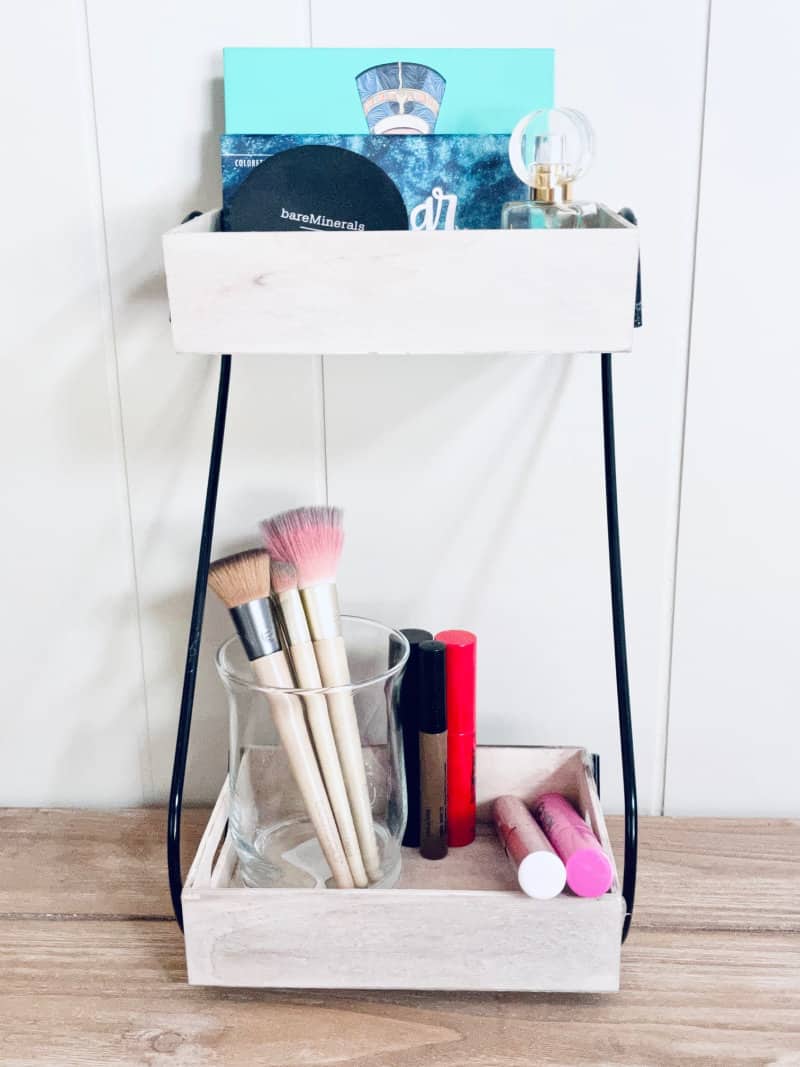
Table of Contents
DIY Dollar Tree Makeup Organizer
I’m always looking for storage ideas that will give me extra storage space in my small home. Thankfully, my local dollar store has lots of different supplies I can use for makeup organization and more.
There are lots of different dollar store organization ideas you may already have in your home. To save money look for storage ideas you already have.
You may want to check out this West Elm Leather Tray dupe.
Dollar store storage ideas
Here are just a few of my favorite ways to organize your home. You can find most of these at your local Dollar Tree.
- Dollar store baskets organize toilet paper or the area under your kitchen sink.
- Use a lazy susan to get more room on your bathroom counter.
- Use a door shoe organizer for organizing lip gloss, nail polish, and makeup products.
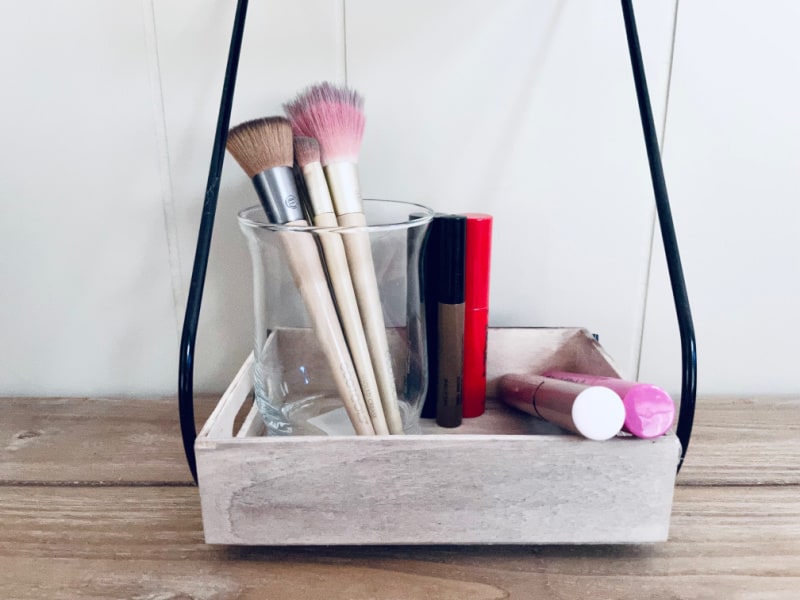
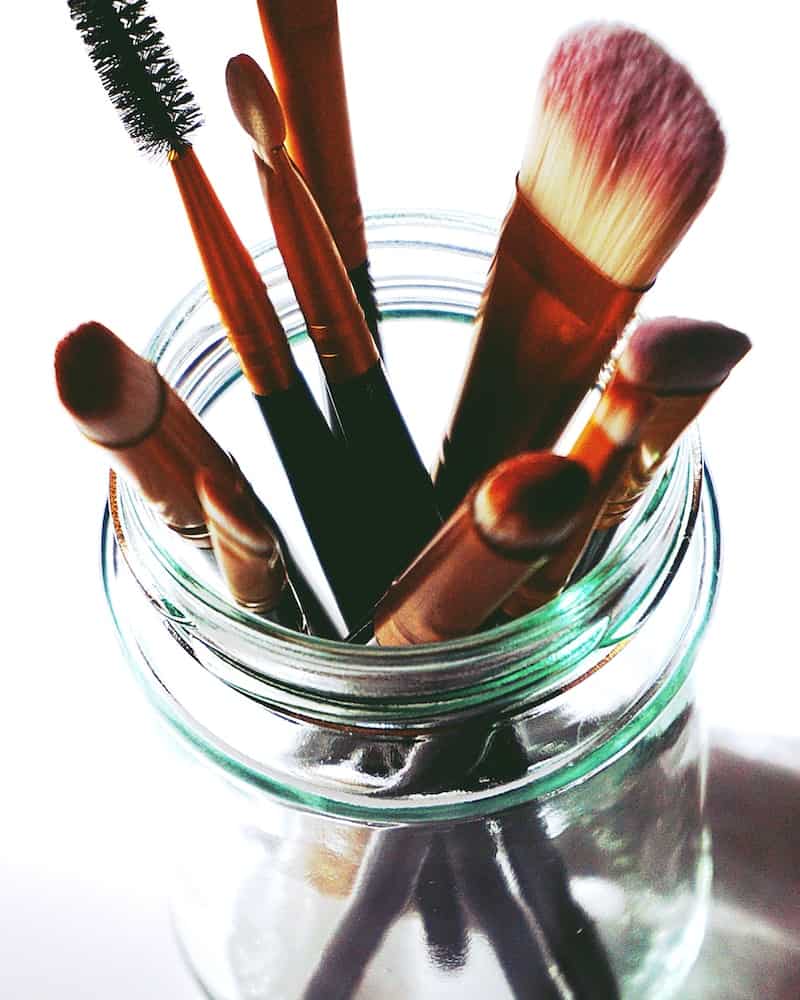
- Place makeup brushes, cotton swabs, and cotton balls in Mason jars.
- Place earrings and rings in an ice cube tray.
- Put nail polish on a white plate or in acrylic trays.
- Use a shower caddy for extra shower storage.
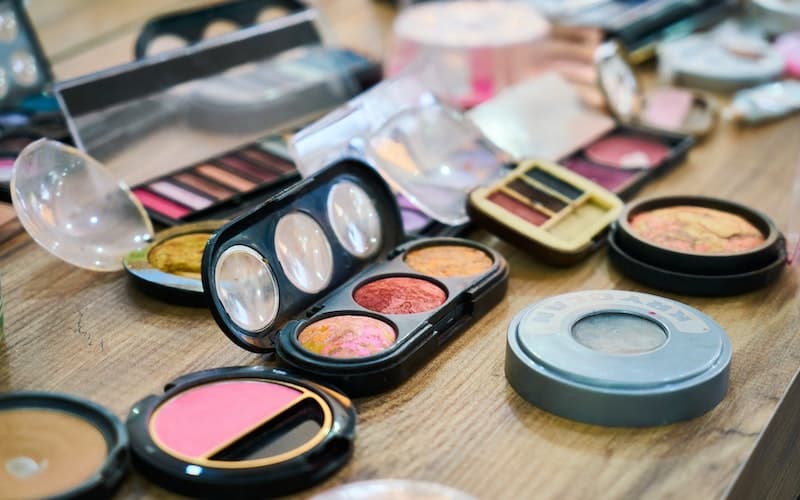
How do you organize a lot of makeup in a small space?
If you have a lot of makeup, it can be difficult to organize in a small space. Here are some ideas for getting more organized with your cosmetics:
Organize by type. Separate lipsticks, eye shadow palettes, and other items into different drawers or containers.
Invest in multi-level jewelry trays that you can stack. This will give you more space for all your makeup items.
Use drawers or baskets to keep items together. A large drawer can hold several compartments and make it easier to see what is inside.
Use a hanging wall organizer with pockets to store lipsticks, eyeshadows, and blush.
Hang hooks behind the door to store makeup brushes and other items.
Use an over-the-door shoe organizer to store nail polish, tweezers, and other small items.
Finally, invest in a few clear acrylic organizers. They are great for storing lipsticks and other cosmetics while keeping them easily visible.
Dollar store organization hacks
The Dollar Tree has a ton of items that can assist with organizing. Here are just a few of my favorite items to buy when I’m looking for budget-friendly organization solutions.
If you need storage ideas but don’t want to buy an expensive storage solution, try these:
- Plastic bins or glass jars are used for storing jewelry, craft supplies, and other small items like eye liners.
- A magnetic strip can be used for holding scissors and other tools in the kitchen or garage.
- Tension rods can be used for organizing cleaning supplies and toiletries in the bathroom.
- Magazine holders are great for storing mail, recipes, books, and magazines.
- Command hooks are perfect for hanging purses, scarves, and other items on walls or inside closets.
- Baskets can be used to organize items like laundry, towels, or blankets in the living room.
- Use a magnetic spice rack to organize smaller makeup products.
DIY storage ideas
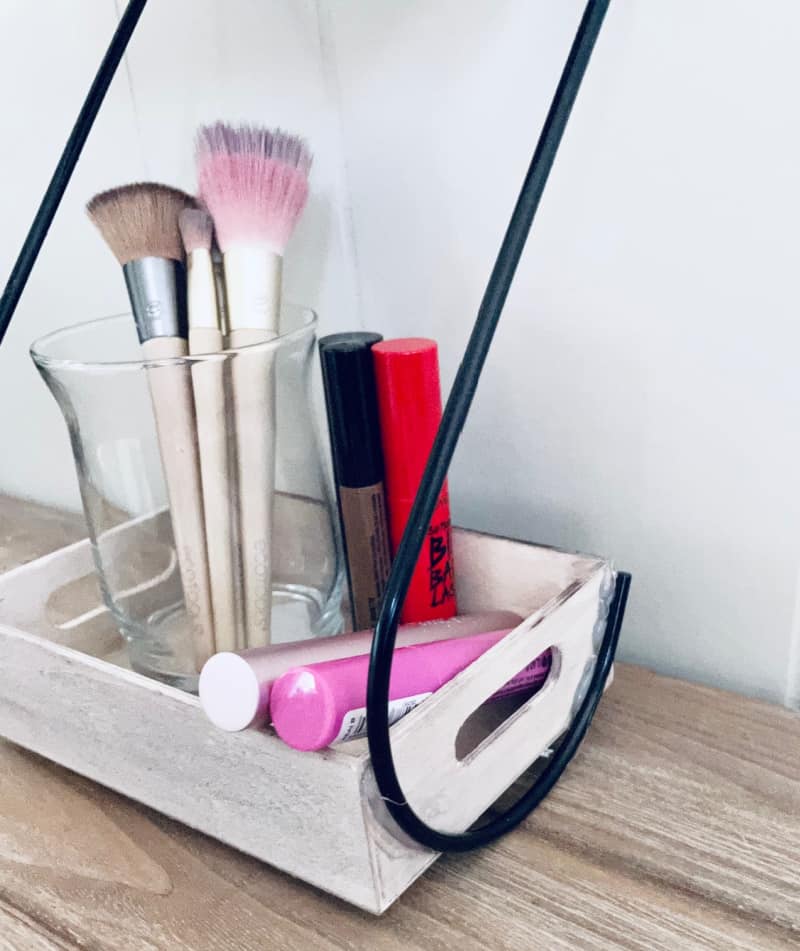
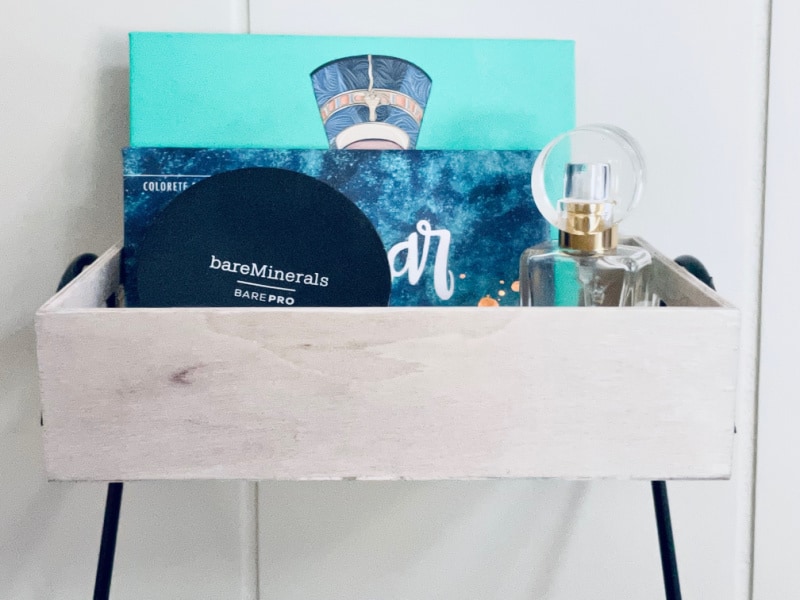
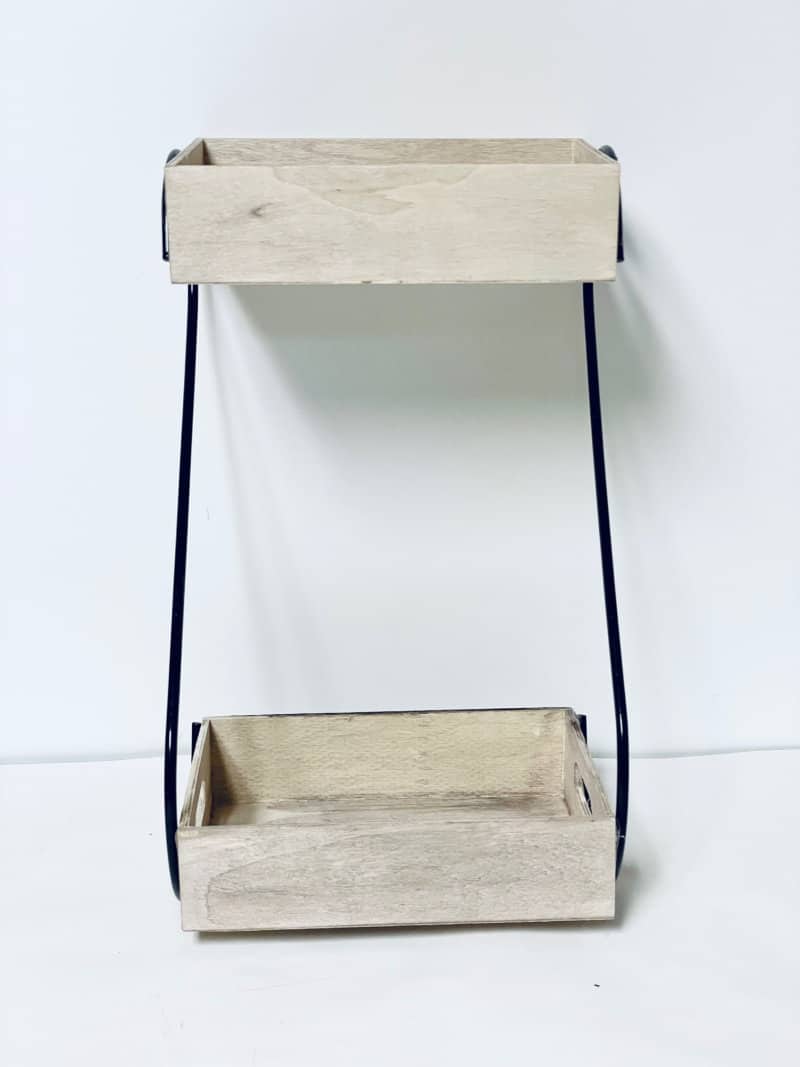
If your makeup drawer is out of control, you can create this makeup organizer using dollar store products. It’s an easy DIY project that results in a pretty tiered tray you can use to organize beauty products or makeup products.
While most of these supplies were found at Dollar Tree, you can probably find similar items at your local dollar store.
It works great for makeup storage but it makes a super cute kitchen dollar store organization idea as well.
It’s very budget friendly and a great way to save money.
DIY Dollar Store makeup organizer
This is the perfect size for makeup storage. If you’d prefer not to paint it, you can use contact paper.
DIY makeup stand supplies
You can find these at the dollar store in your area.
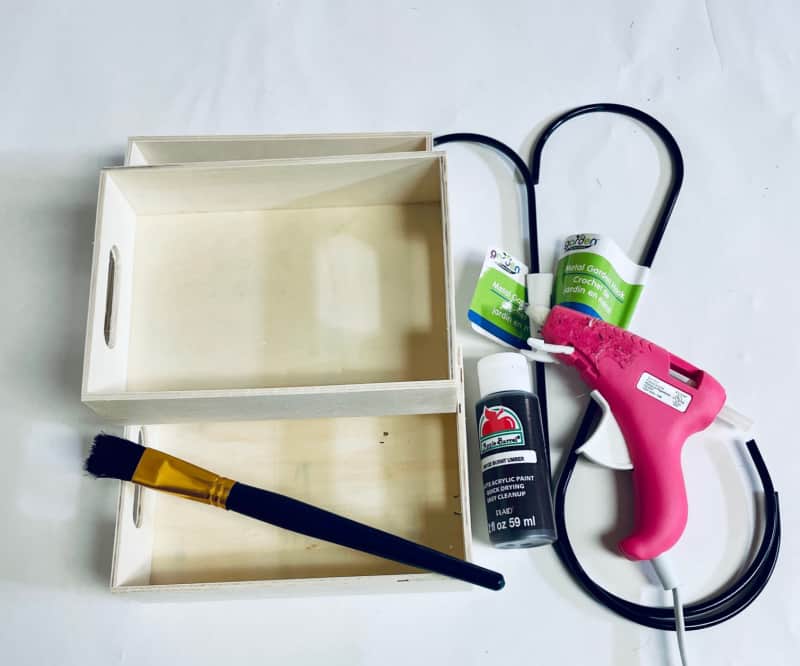
- 2 Dollar Tree rectangle boxes
- 2 Metal Garden Hooks ( S Shape)
- Hot Glue Gun
- Apple Barrel Burnt Umber Acrylic Paint (or spray paint)
- Paint Brush
- Cup and some water
Instructions:
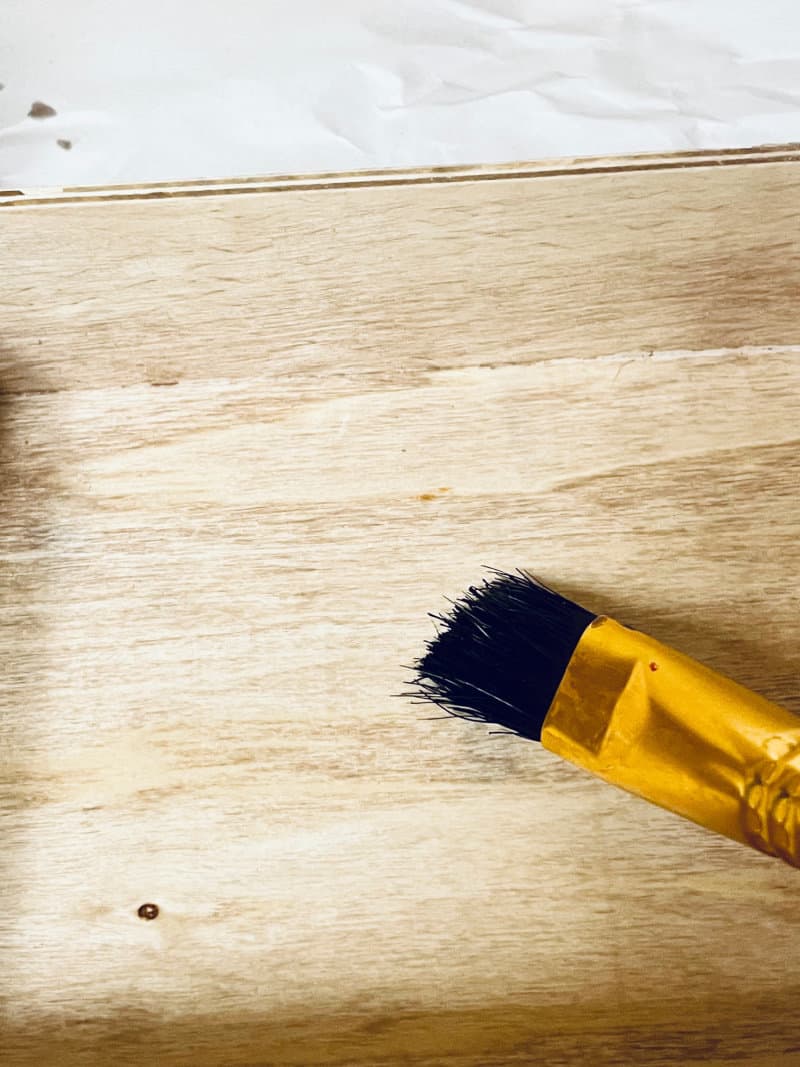
Start by putting some water in the cup and adding a few drops of paint. Mix thoroughly. This will create a light stain (without the stain smell!)
Paint both of the boxes with the stain mixture. Allow to dry thoroughly (this won’t take too long around 20 minutes as the paint/stain mixture is very light)
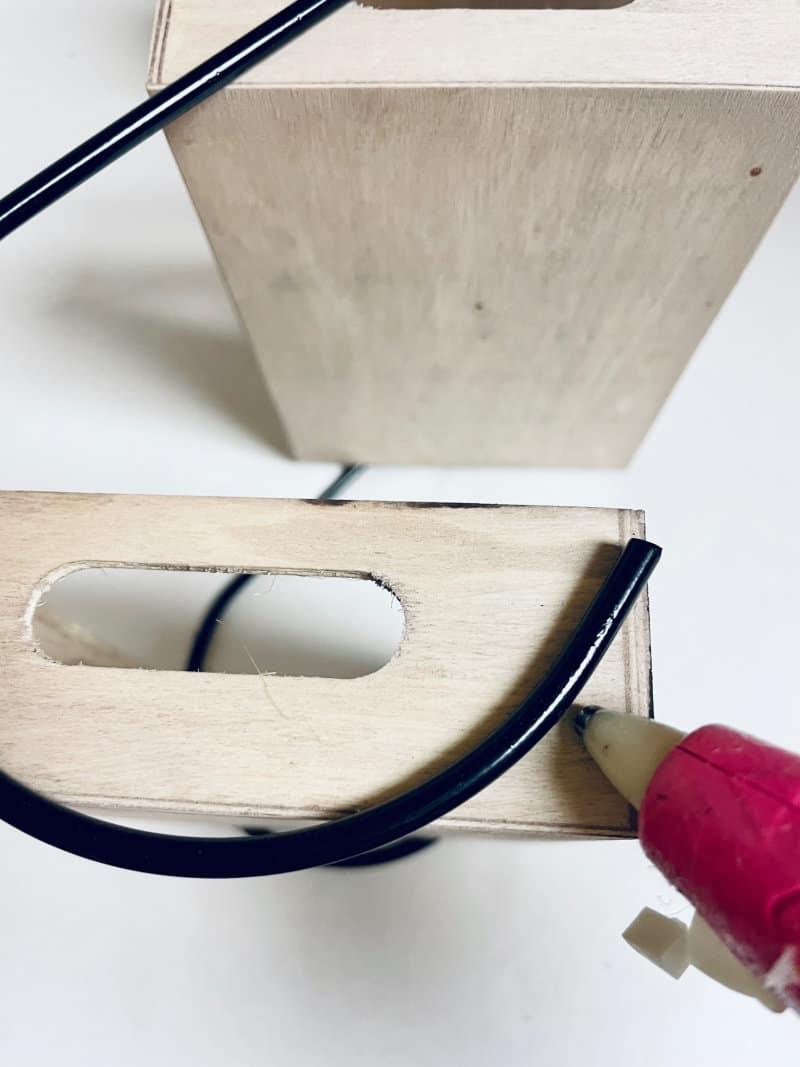
Place the S hook on top of the two boxes (I placed the larger end on the bottom and the smaller end on the top).
Apply a line of hot glue to the wooden boxes where the S hook will go and apply the S hook and some pressure to make sure that it adheres.
Repeat on the opposite side. Allow to dry and then style!
Related Reading
Here are some more great tips and storage ideas.
- Perfume storage tips
- How to organize your makeup desk
- How to organize makeup palettes
- Organize your jewelry
- Professional beauty supply stores
- Best earrings for a square face
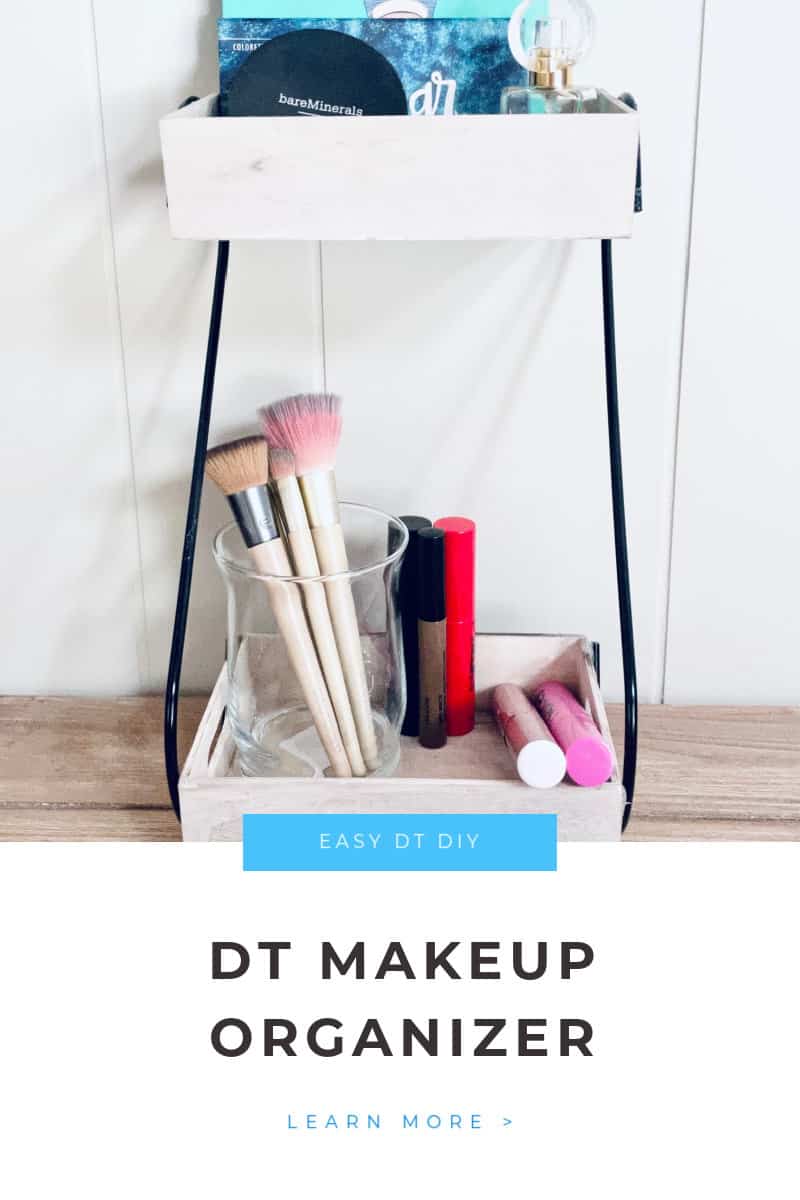
DIY Dollar Tree Makeup Organizer
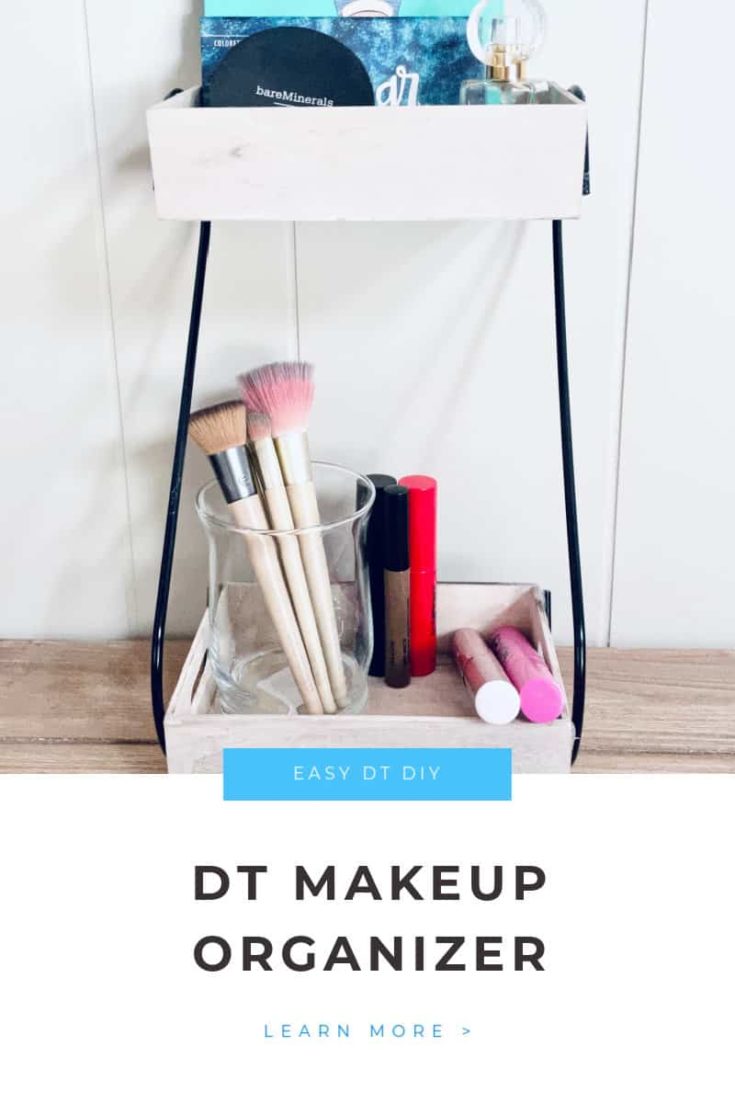
Check out this DIY Dollar Tree makeup organizer. If you're looking for ideas for storing makeup, this is one of my favorite dollar store hacks.
Materials
- 2 Dollar Tree rectangle boxes
- 2 Metal Garden Hooks ( S Shape)
- Hot Glue Gun
- Apple Barrel Burnt Umber Acrylic Paint (or spray paint)
- Paint Brush
- Cup and some water
Tools
- hot glue gun
Instructions
- Start by putting some water in the cup and adding a few drops of paint. Mix thoroughly. This will create a light stain (without the stain smell!)
- Paint both of the boxes with the stain mixture. Allow to dry thoroughly (this won’t take too long around 20 minutes as the paint/stain mixture is very light)
- Place the S hook on top of the two boxes (I placed the larger end on the bottom and the smaller end on the top).
- Apply a line of hot glue to the wooden boxes where the S hook will go and apply the S hook and some pressure to make sure that it adheres.
- Repeat on the opposite side. Allow to dry and then style!

The Socialite’s Closet is a style and beauty destination created for women over 45 who want to feel confident, modern and effortlessly put together. Here you’ll find fashion inspiration, beauty tips and easy-to-follow styling ideas designed for real life.